1 Windows 10 Ease of Access: Vision2 Windows 10 Ease of Access: Hearing3 Windows 10 Ease of Access Settings: Interaction
In fact, Microsoft has put more effort into accessibility options than most of the world’s major companies. Former principal design director Kat Holmes implemented an “inclusive design” policy that touches everything the company does. Though this means a ton of accessibility settings, it can also be intimidating to sort through. As a result, today we’re going to walk you through Ease of Access in Windows 10 in simple English. We’ll cover how to find the settings and which each does, in three distinct sections. Let’s get started:
Windows 10 Ease of Access: Vision
Windows 10 Ease of Access: Hearing
Windows 10 Ease of Access Settings: Interaction
That should sum up everything you need to know about Windows 10 accessibility features. We hope that this tutorial will help you to use your PC despite the physical challenges you may encounter.
Make text bigger: This Windows 10 Ease of Access option does about what you’d expect. By dragging the slider underneath this heading, you can change the size of the text throughout your system. Pay particular attention to the sample text, as that gives you a preview of what the final result will look like. Make everything bigger: This changes the size of text, but also the interface in general. If you struggle to see small icons, for example, this could be useful.
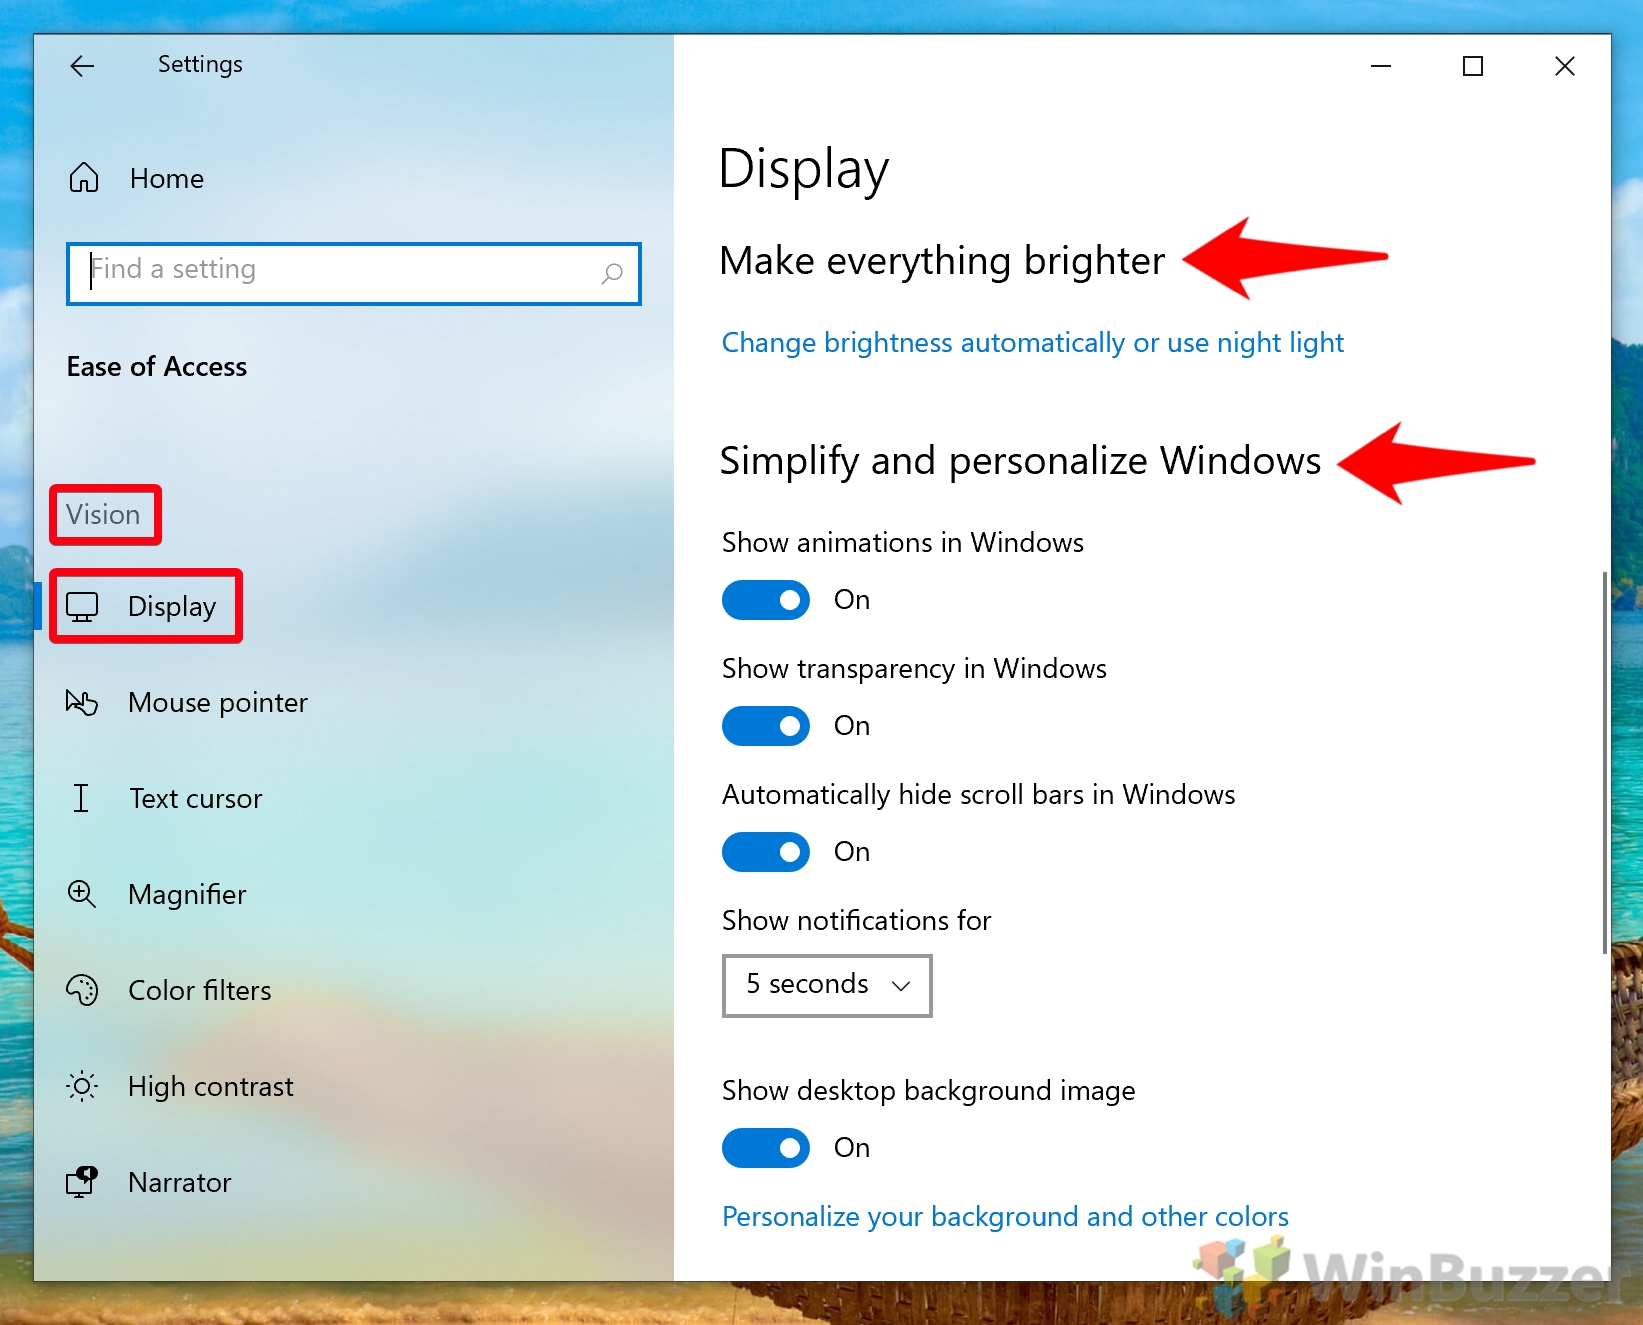
Make everything brighter: This ease of accessibility option lets you increase or decrease the brightness of your display so you can see it better. It provides an additional link to night light settings, which allows you to adjust how warm your display is. Simplify and personalize Windows: These accessibility settings help you reduce effects that may confuse your eyes. You can turn off animations, transparency effects, automatic scroll bar hiding, and desktop backgrounds. You can also change the amount of time notifications stay on your screen.
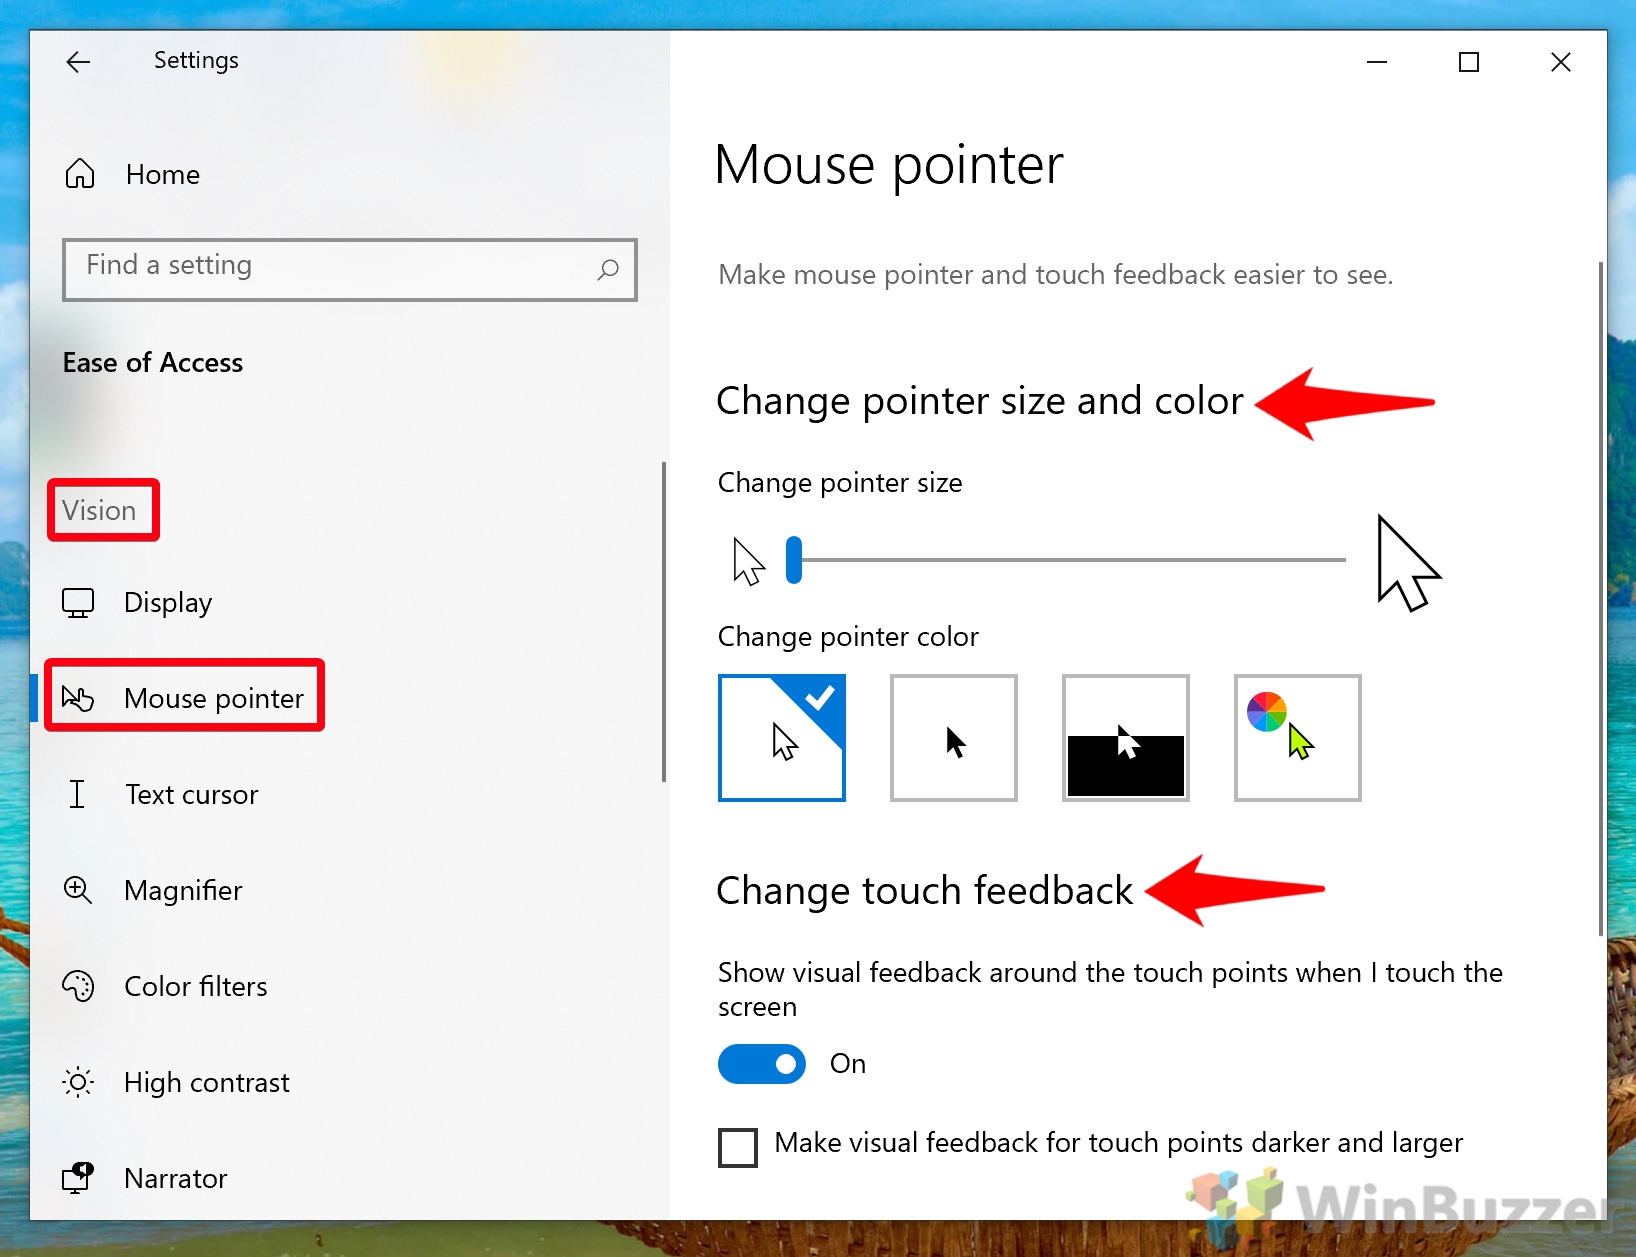
Change pointer size and color: Drag the slider to make your cursor bigger until you can see it comfortably, to change its color to provide more contrast against different backgrounds. Change touch feedback: Struggling to tell when you’ve pressed a UI element? Turning visual feedback on will display an animation when you tap. You can optionally tick the “Make visual feedback for touch points darker and larger” if you’re struggling to see them.
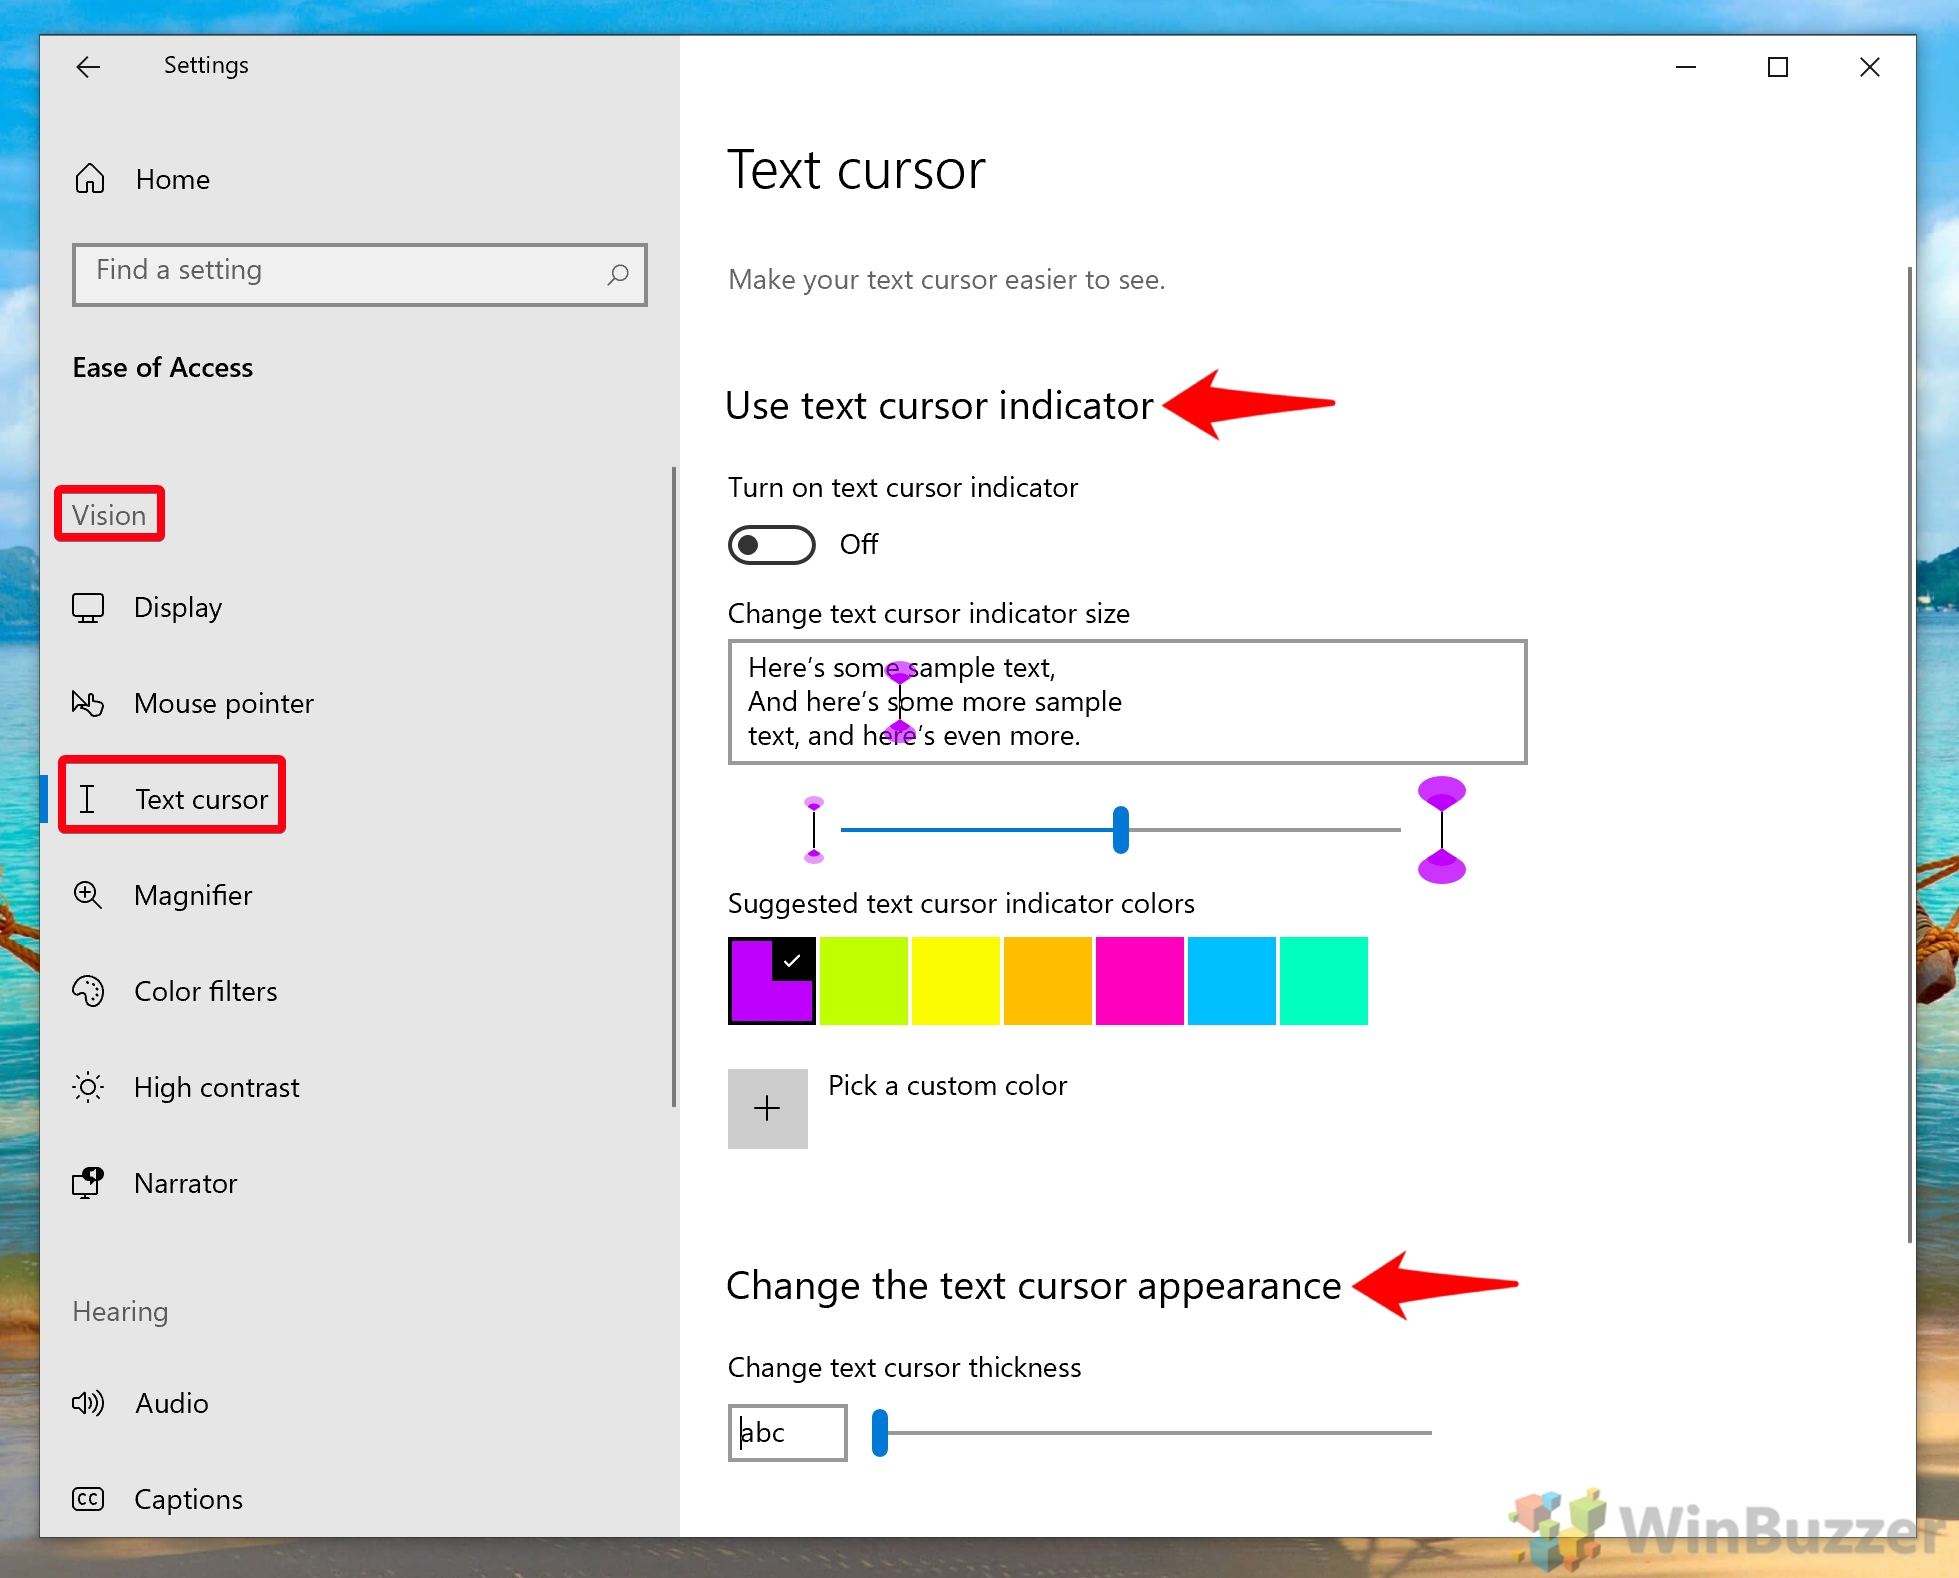
You’ll see the following accessibility settings: Use text cursor indicator: The text cursor indicator is two fan shapes that show at the top and bottom of your text cursor. This makes it much easier to see. You can change the color below the toggle switch to one that suits your preferences. Change the text cursor appearance: This Ease of Access setting lets you change the thickness of the line itself. You can drag the slider to make the text cursor wider and therefore stand out more against a background.
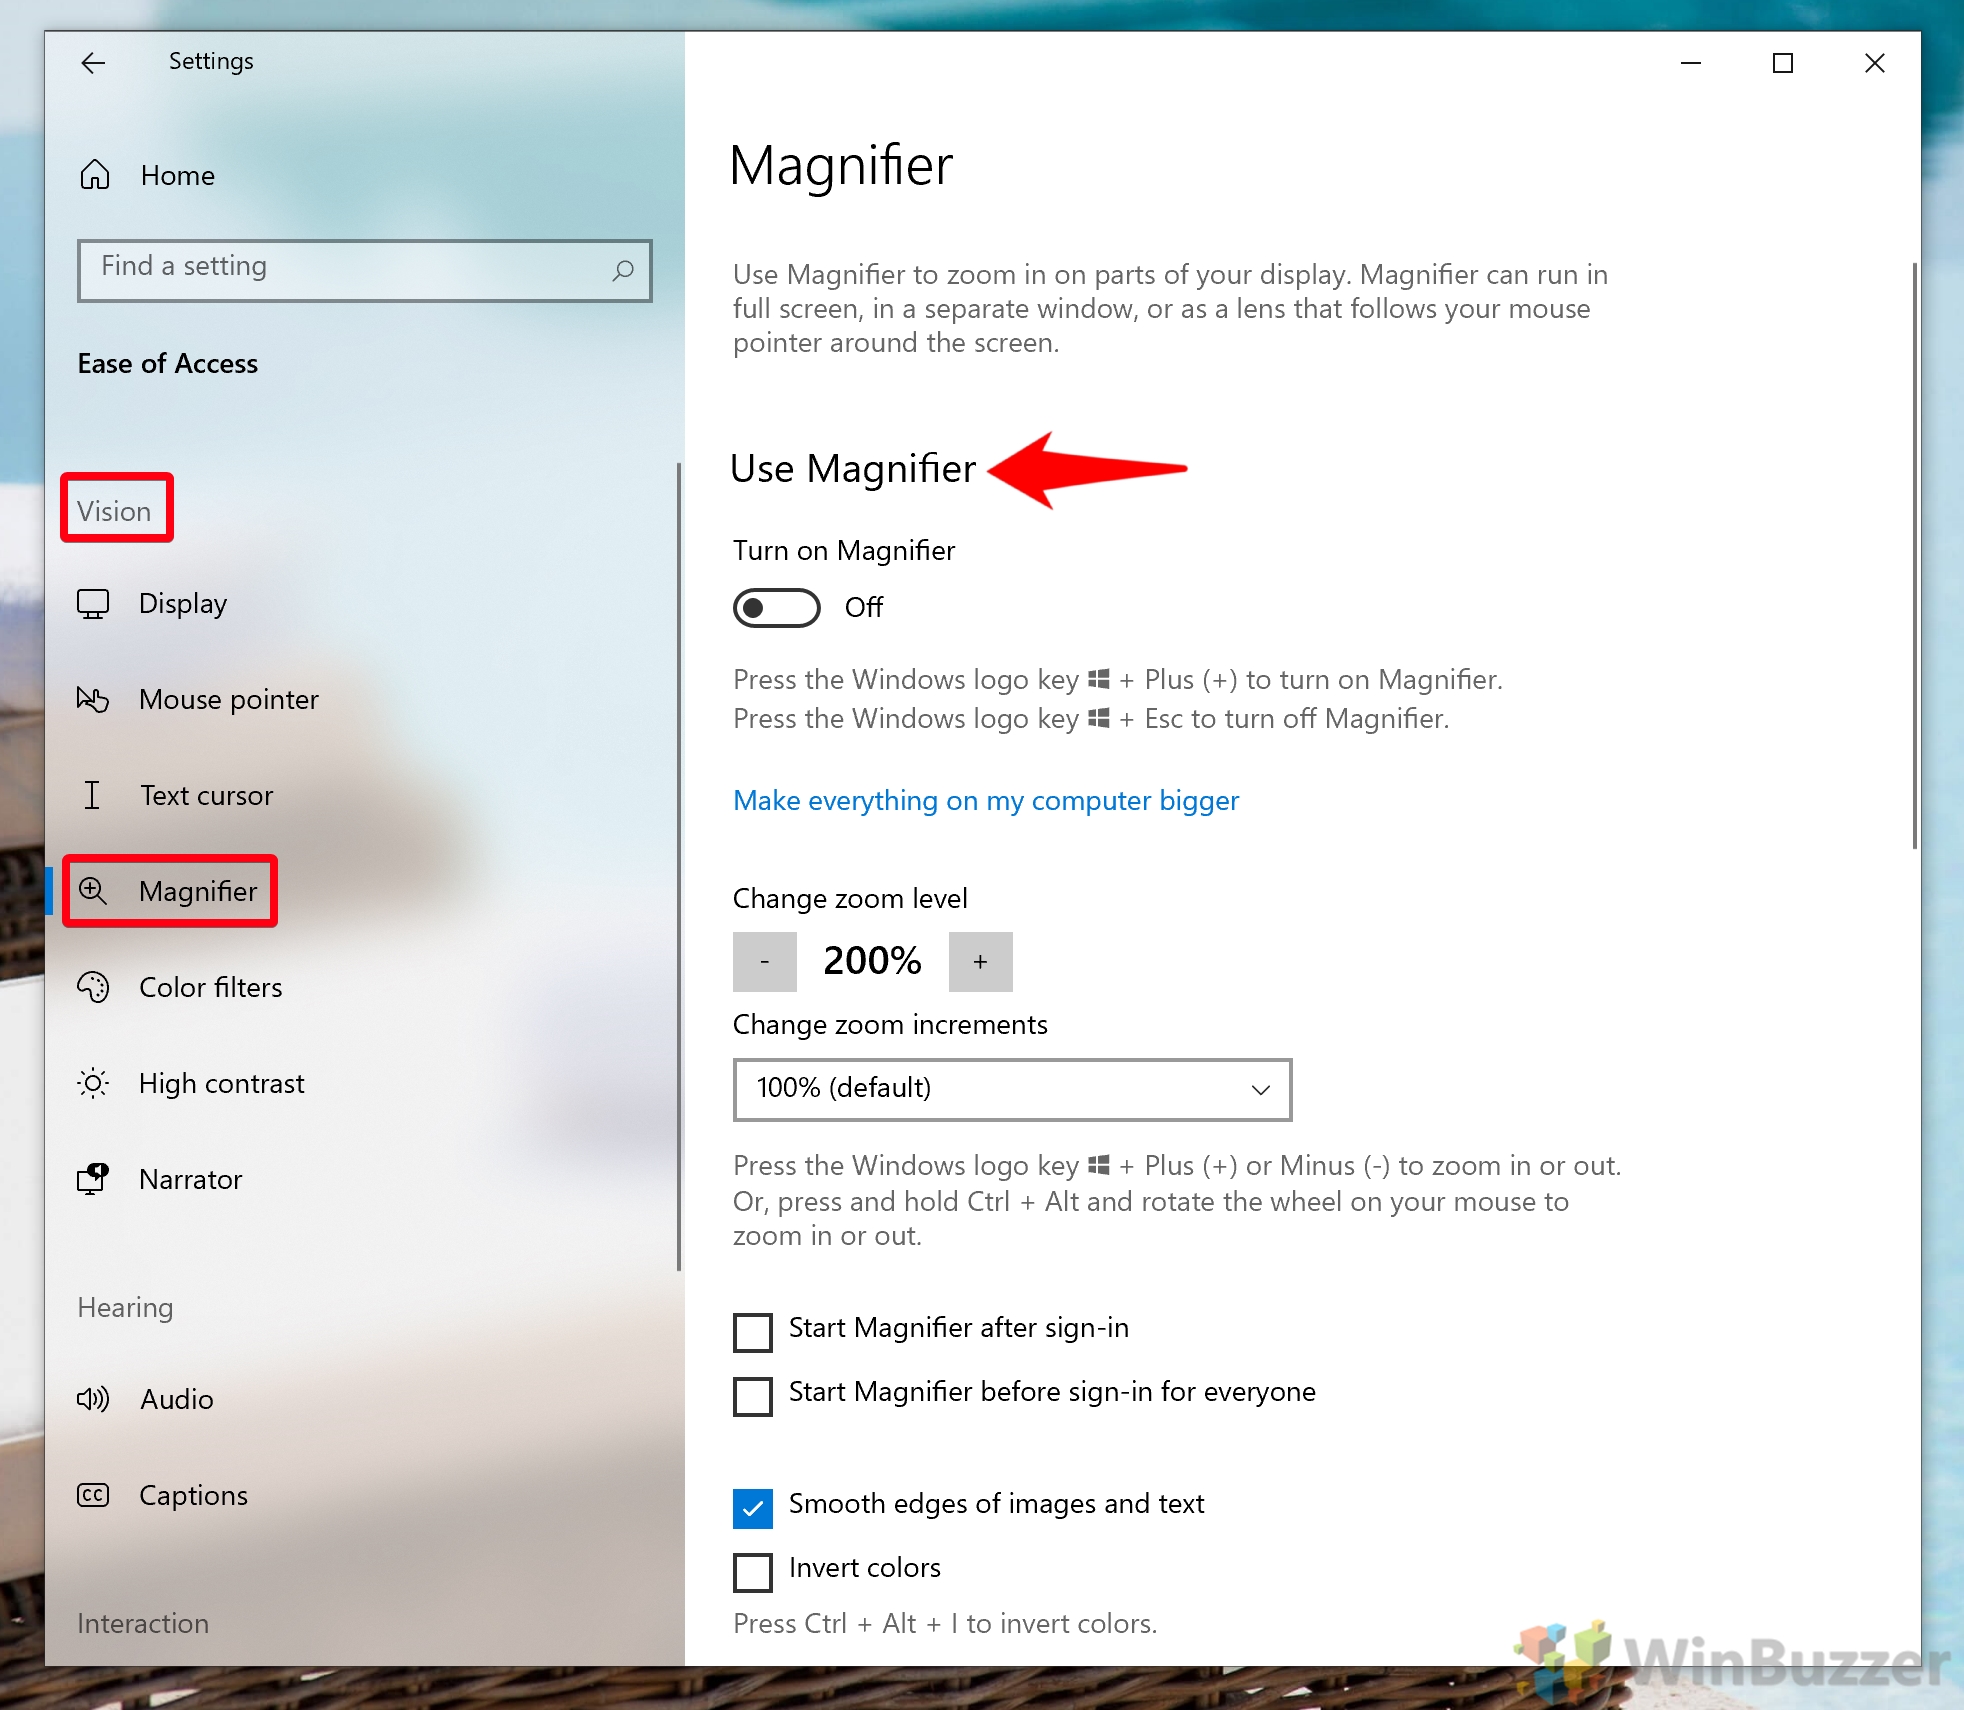
Use Magnifier: This toggle turns the magnifier on or off. You can hold Alt and scroll to zoom in or out. Change zoom level: This changes the amount your screen will zoom. 200% will make everything double the size. You can go up to a maximum of 1600%. Change zoom increments: Changes the amount the magnifier “jumps” when you use the controls to zoom in or out.
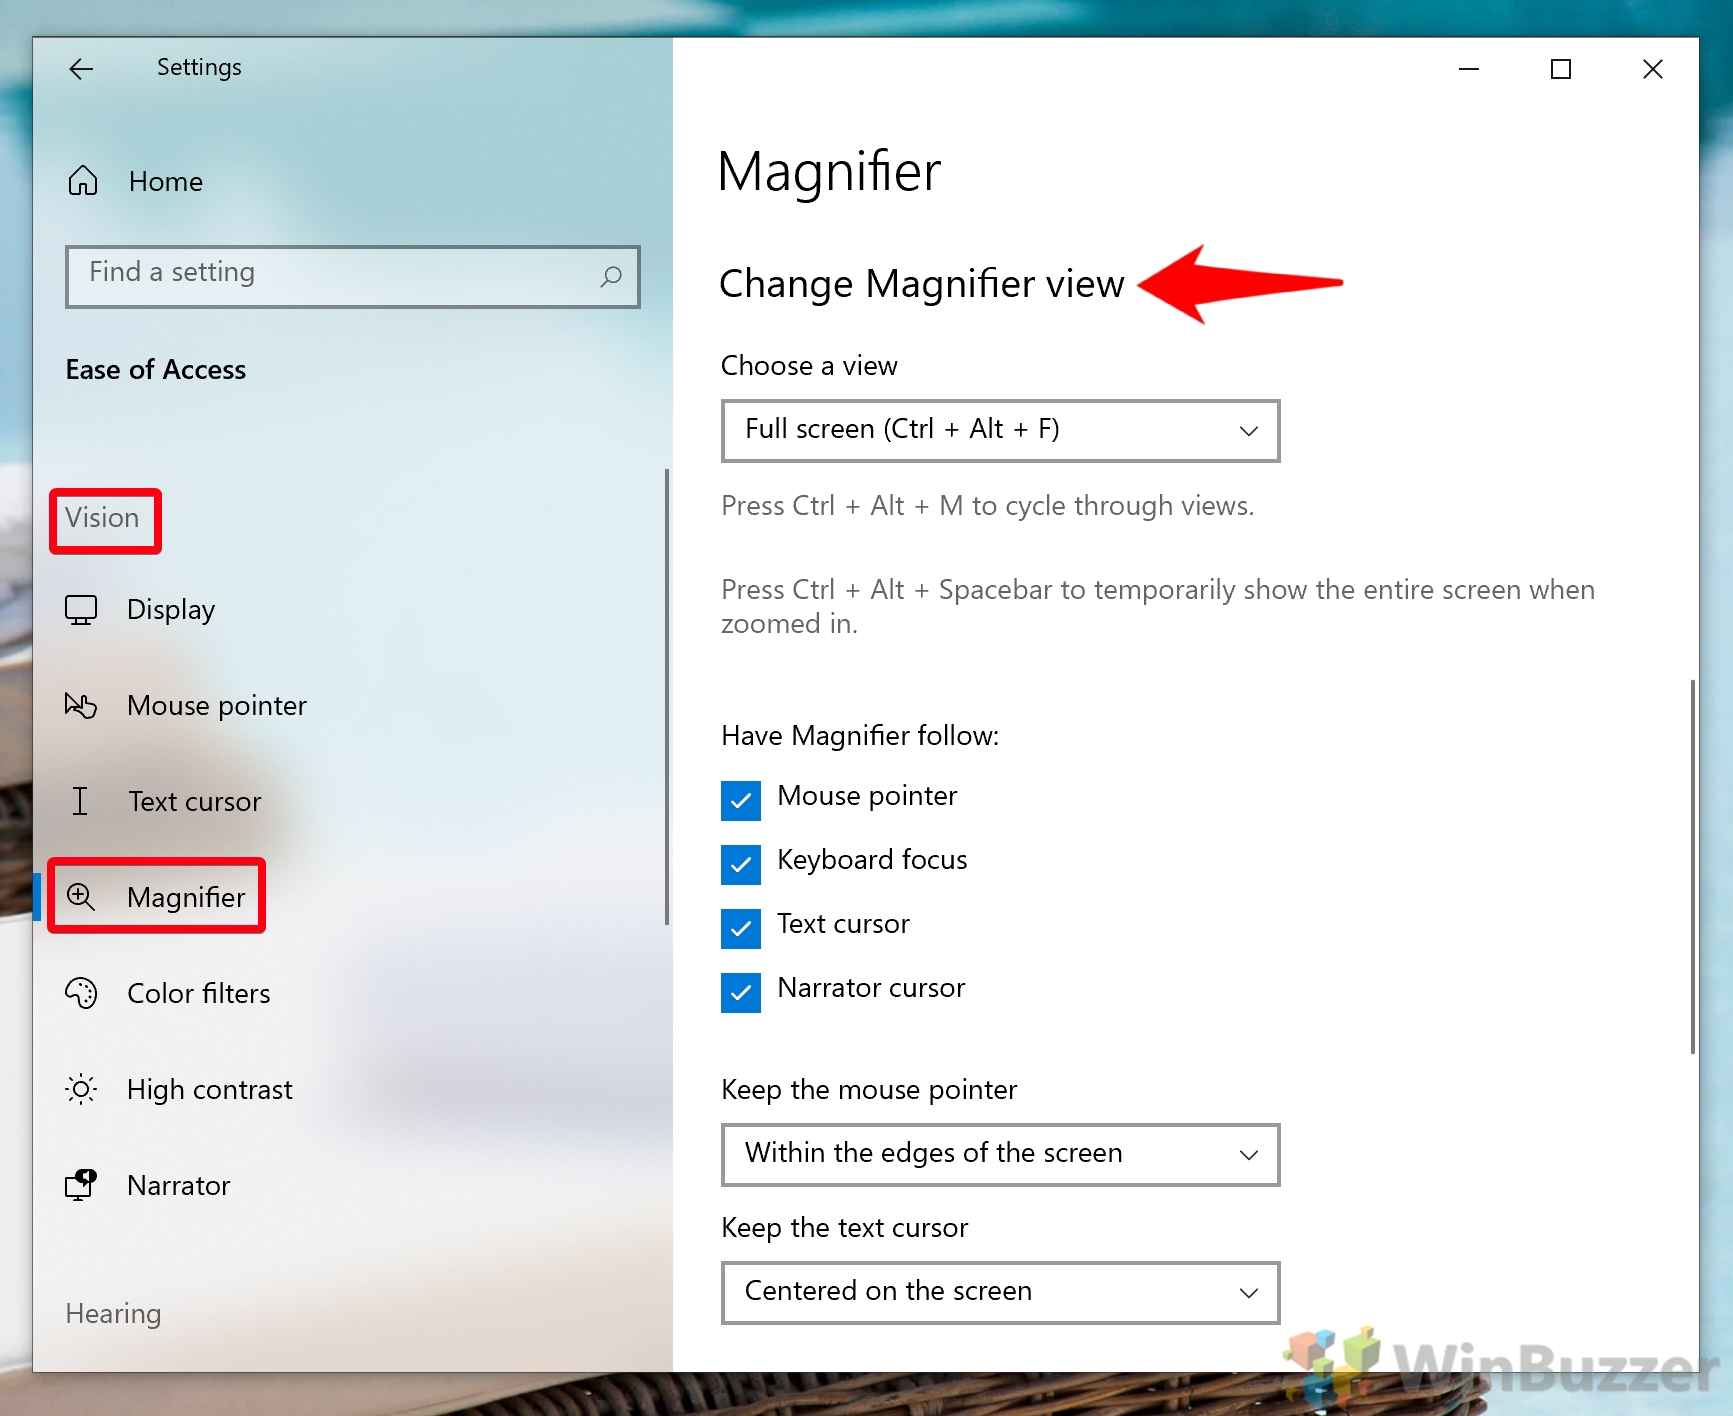
Under the “Choose a view” heading you’ll see a dropdown with three options: “Full Screen”, which increases the size of your entire display, “Docked”, which creates a window at the top of your screen that you can move around, and “Lens”, which creates a box that automatically follows your cursor. You can switch between these views at any point by pressing Ctrl + Alt + M on your keyboard.
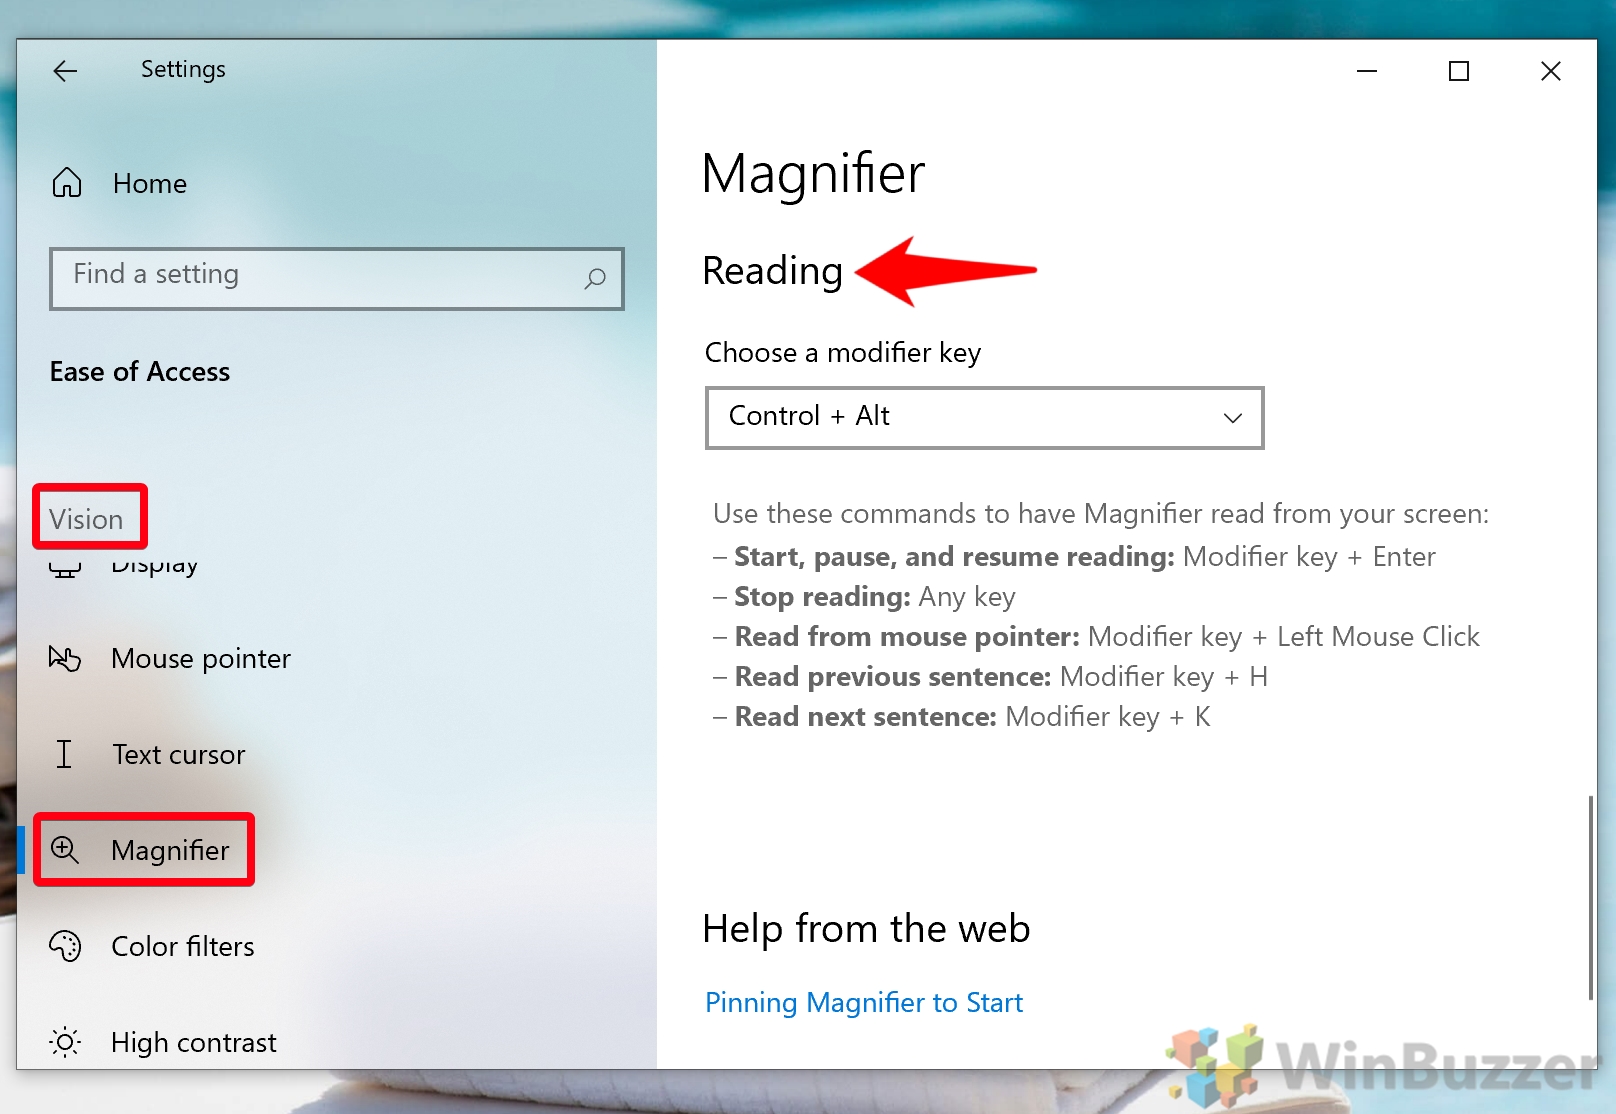
All of these will change the button you press the start and resume Magnifier’s text-to-speech. You can see the shortcuts in your settings app or the image below.
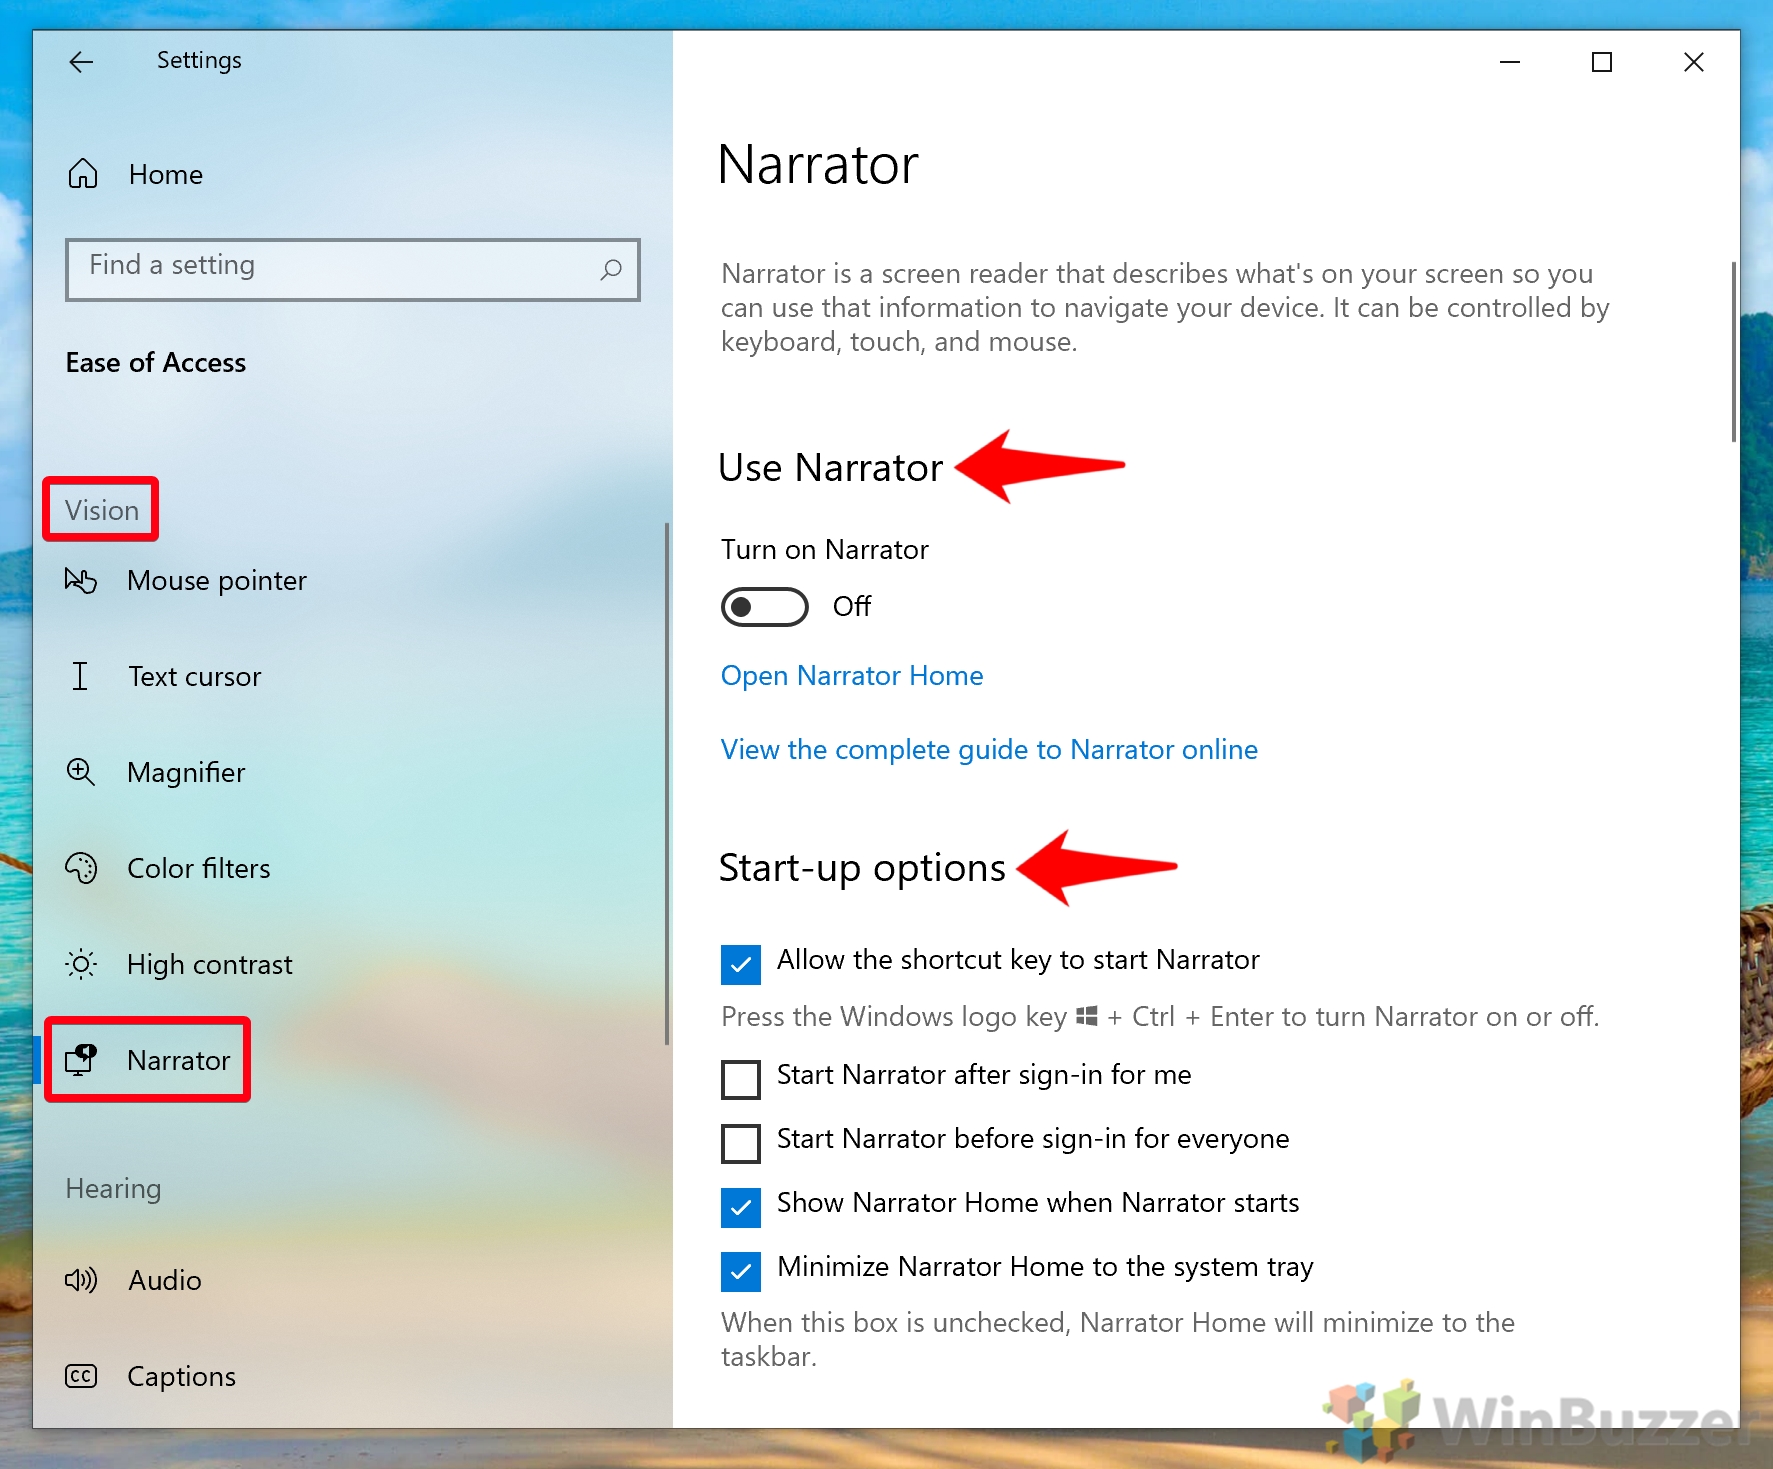
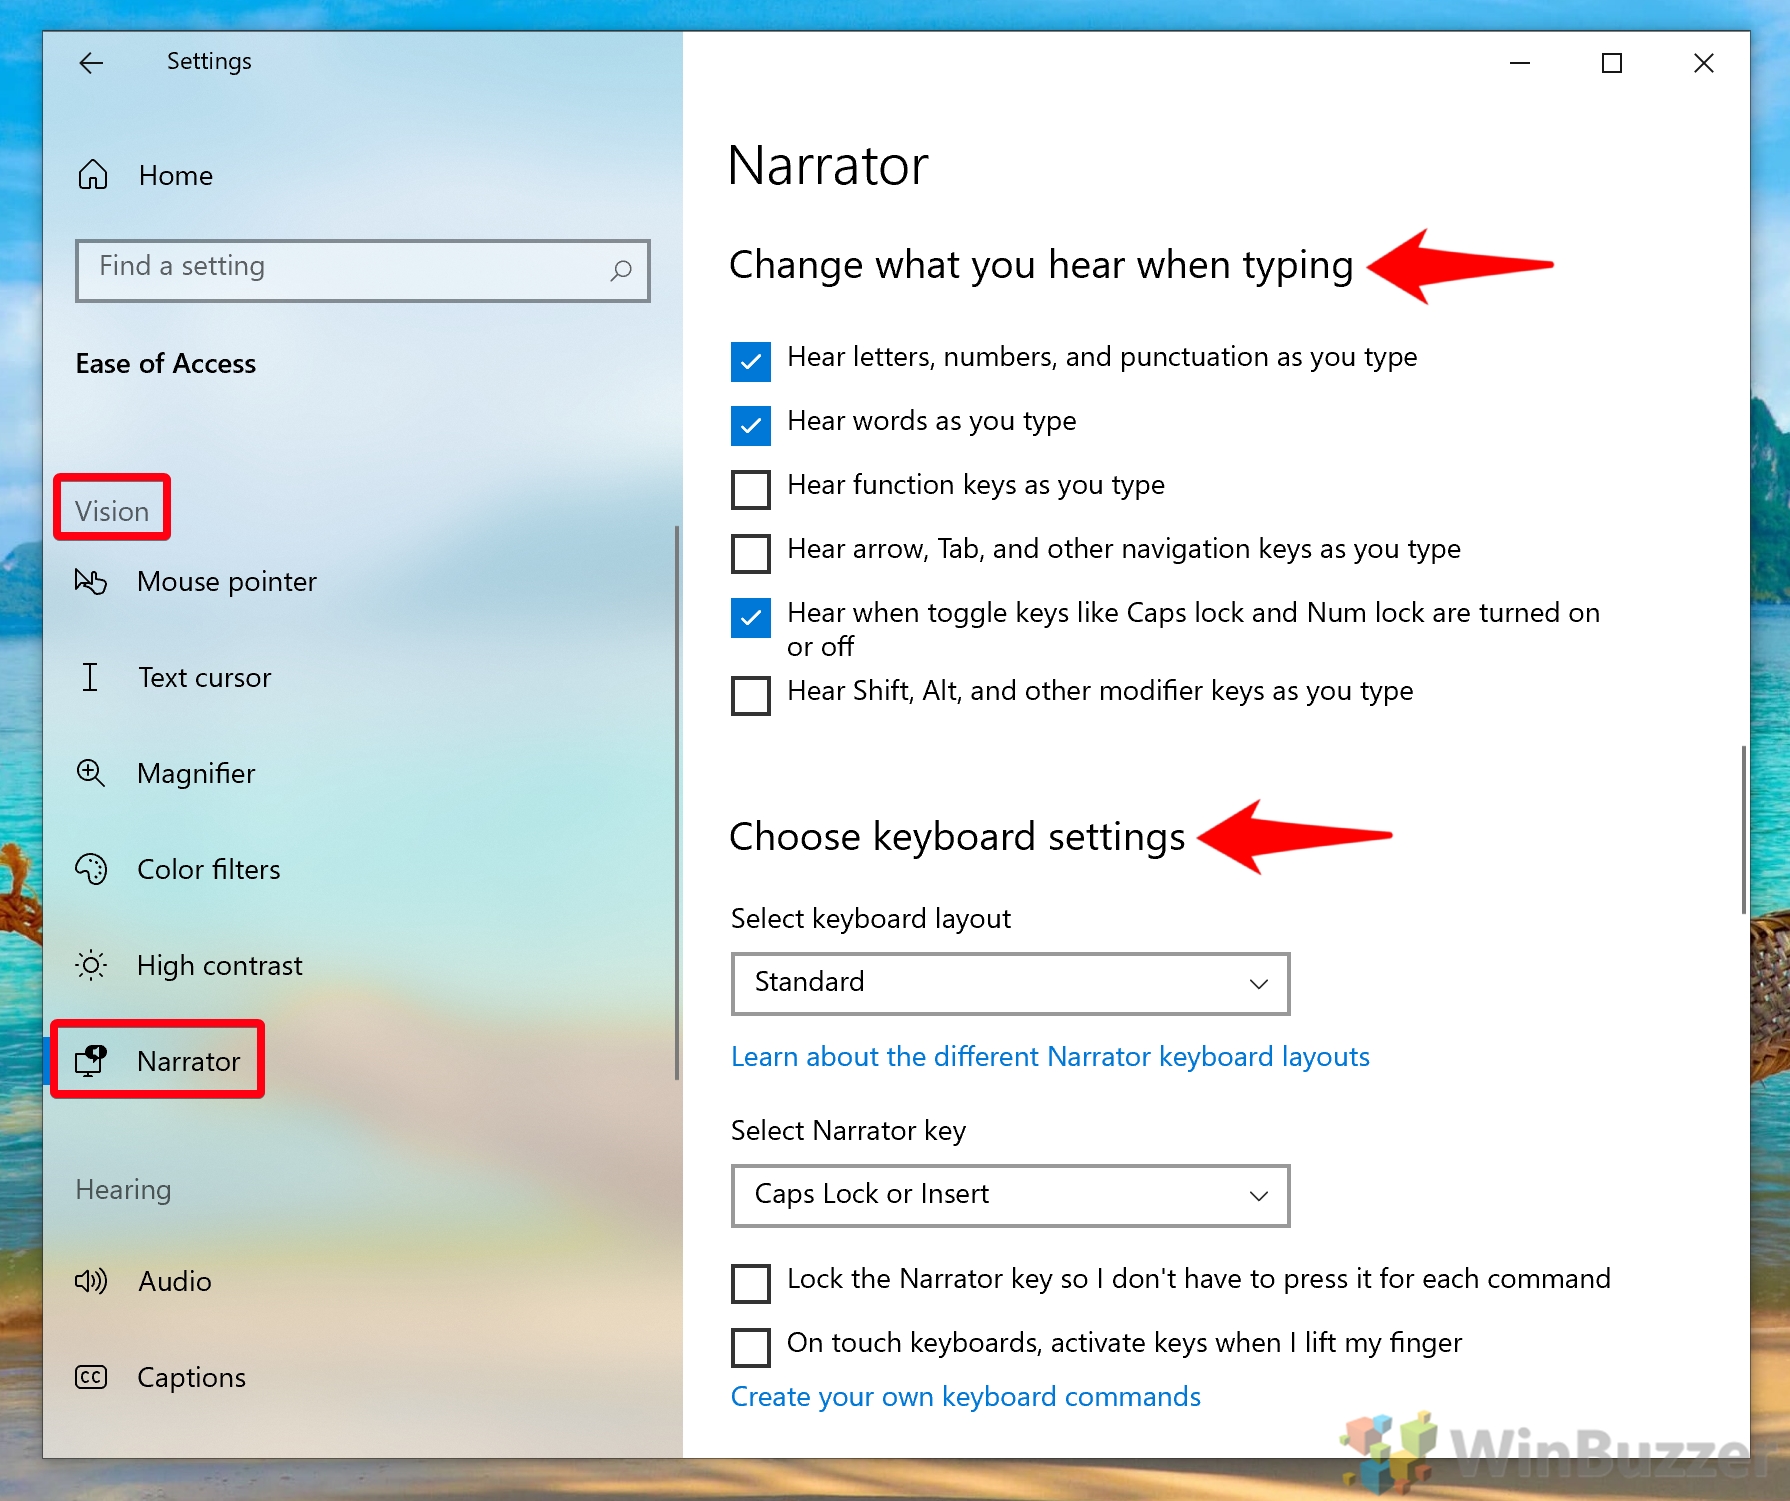
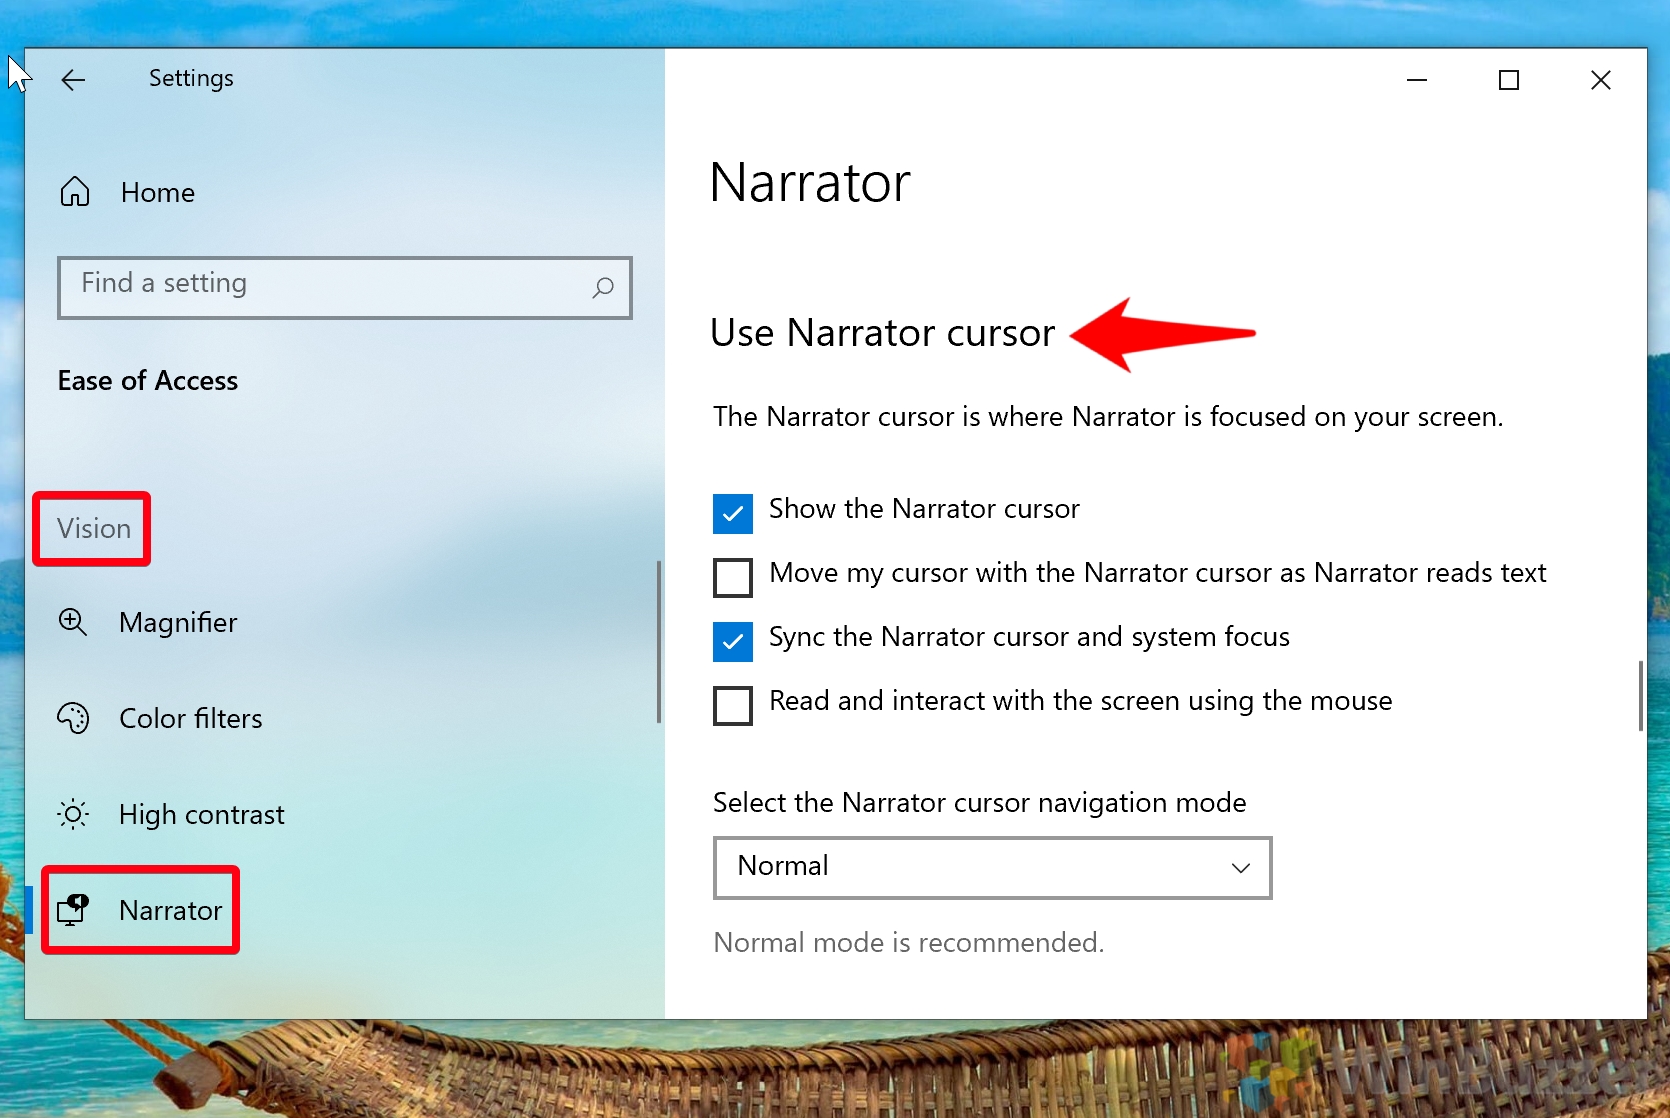
If you’re wondering how to have your computer read to you outside of the Magnifier, this is the answer. Turning on Narrator will cause text to speech to read out everything on your screen, including new notifications. Further “Start-up options” allow you to customize whether the shortcut key for Narrator is active, whether it starts at sign-in, and more.
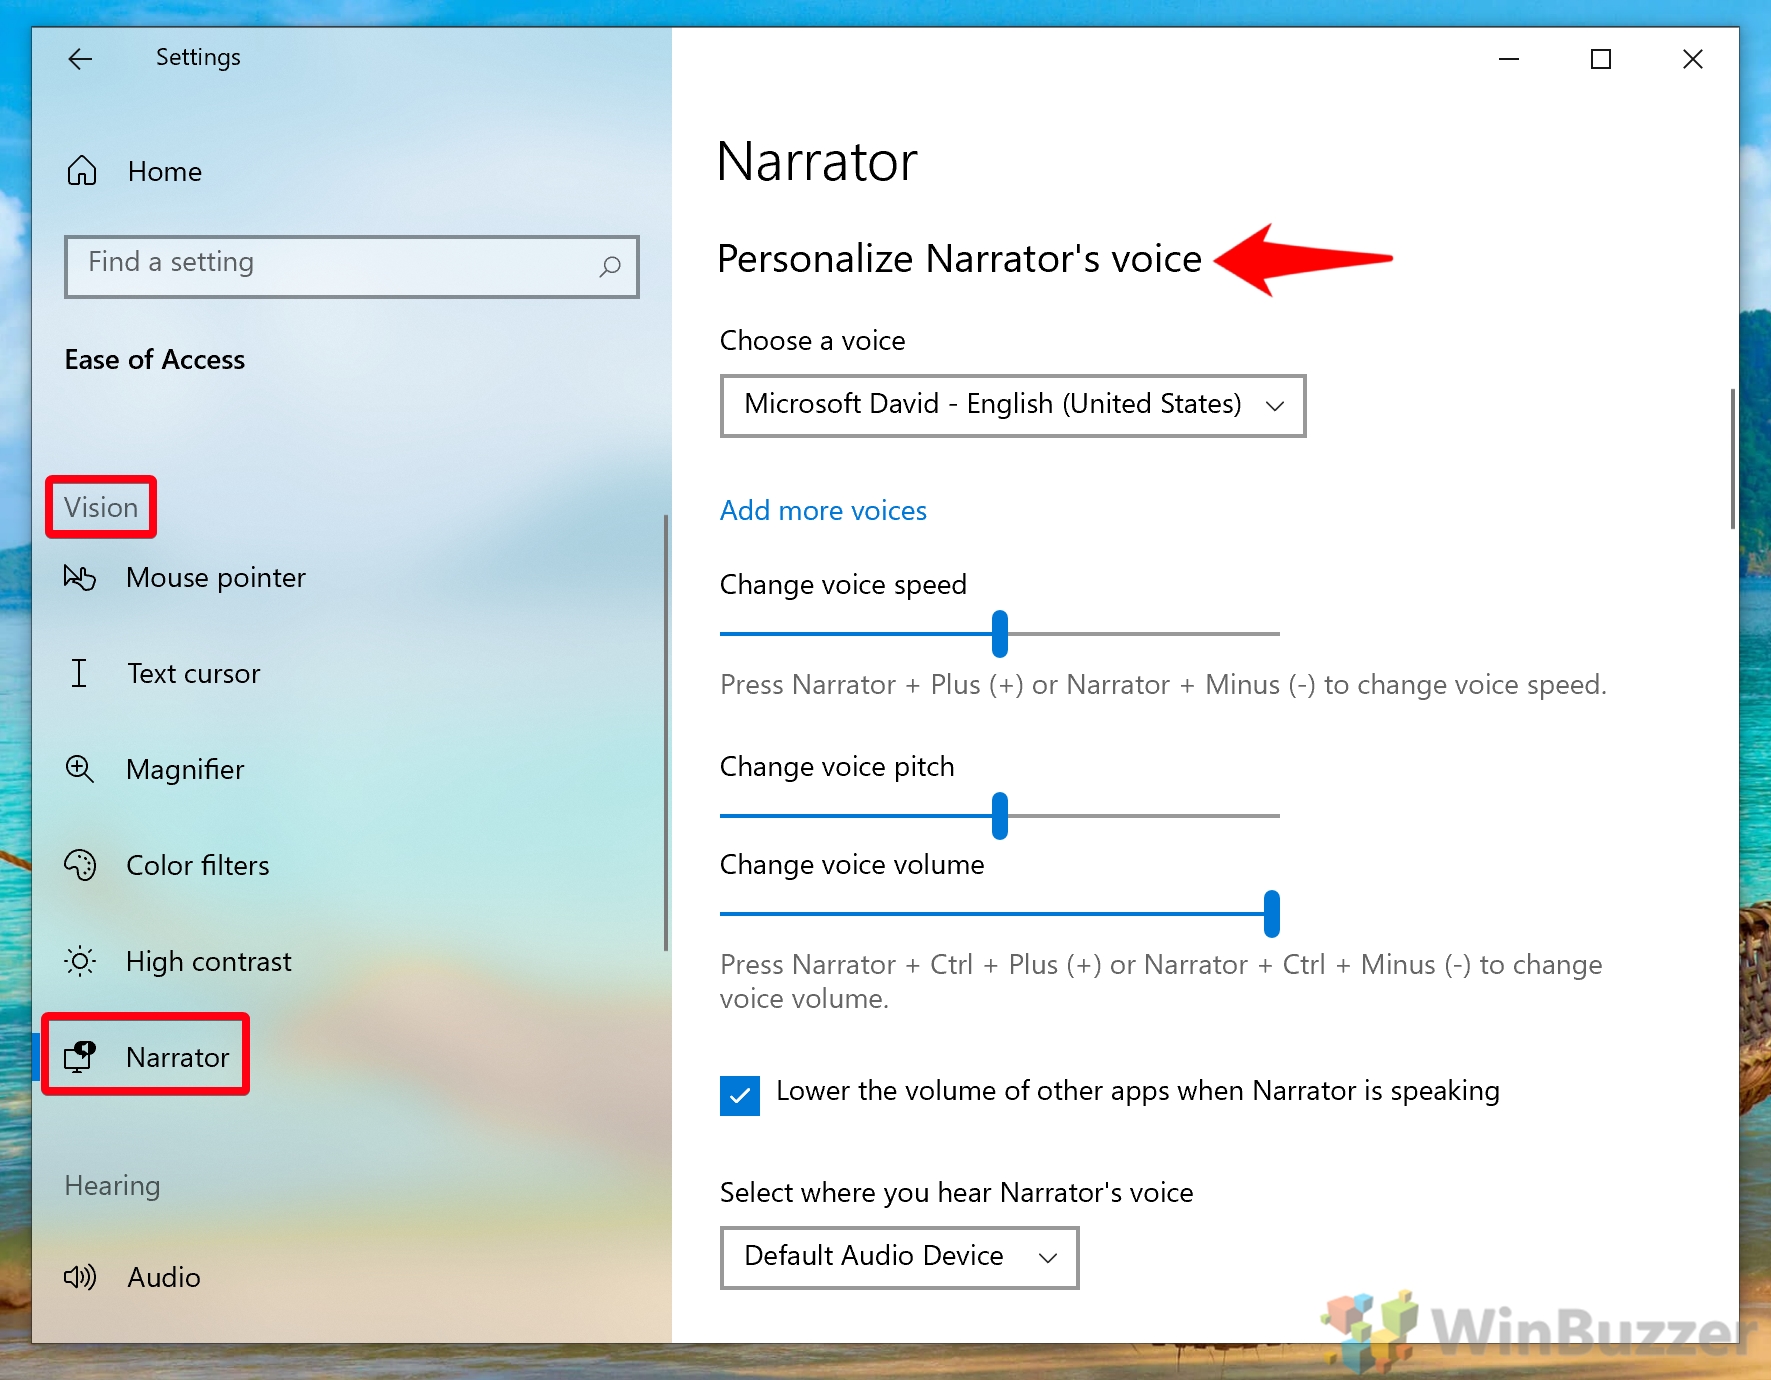
You can additionally customize the speed, pitch, and volume of the voice to suit your preferences.
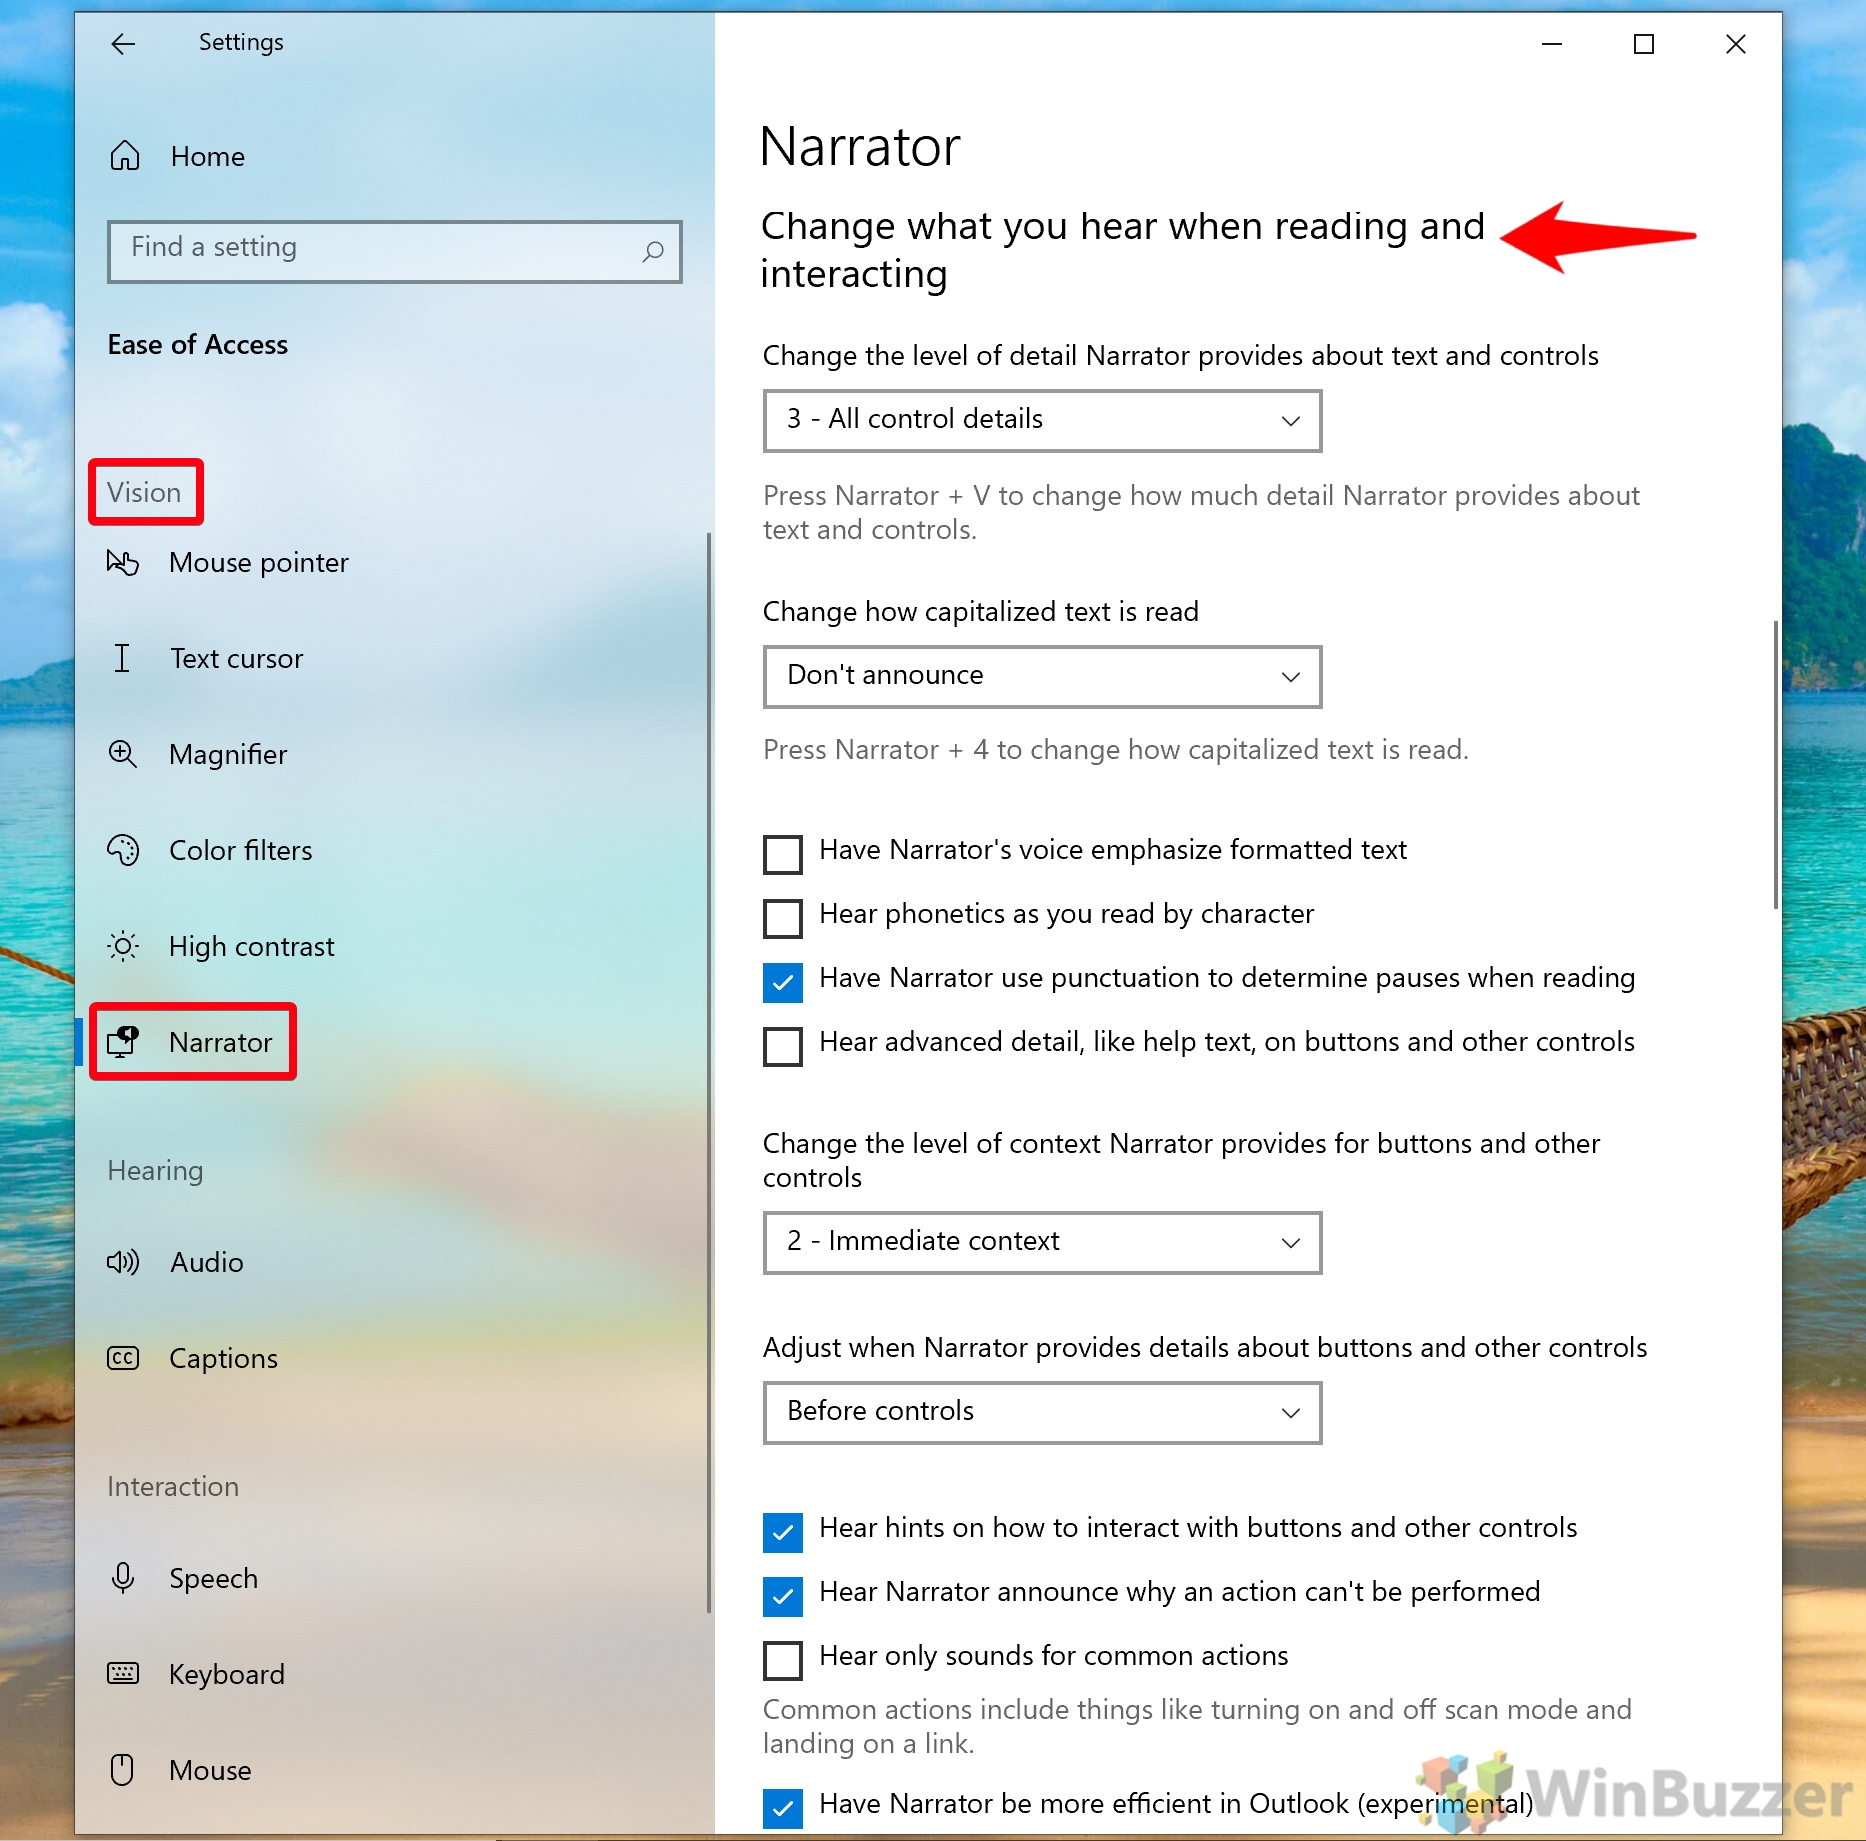
The Narrator settings also let you change your keyboard layout under the “Change keyboard settings” section, as well as the key you use to select narrator.
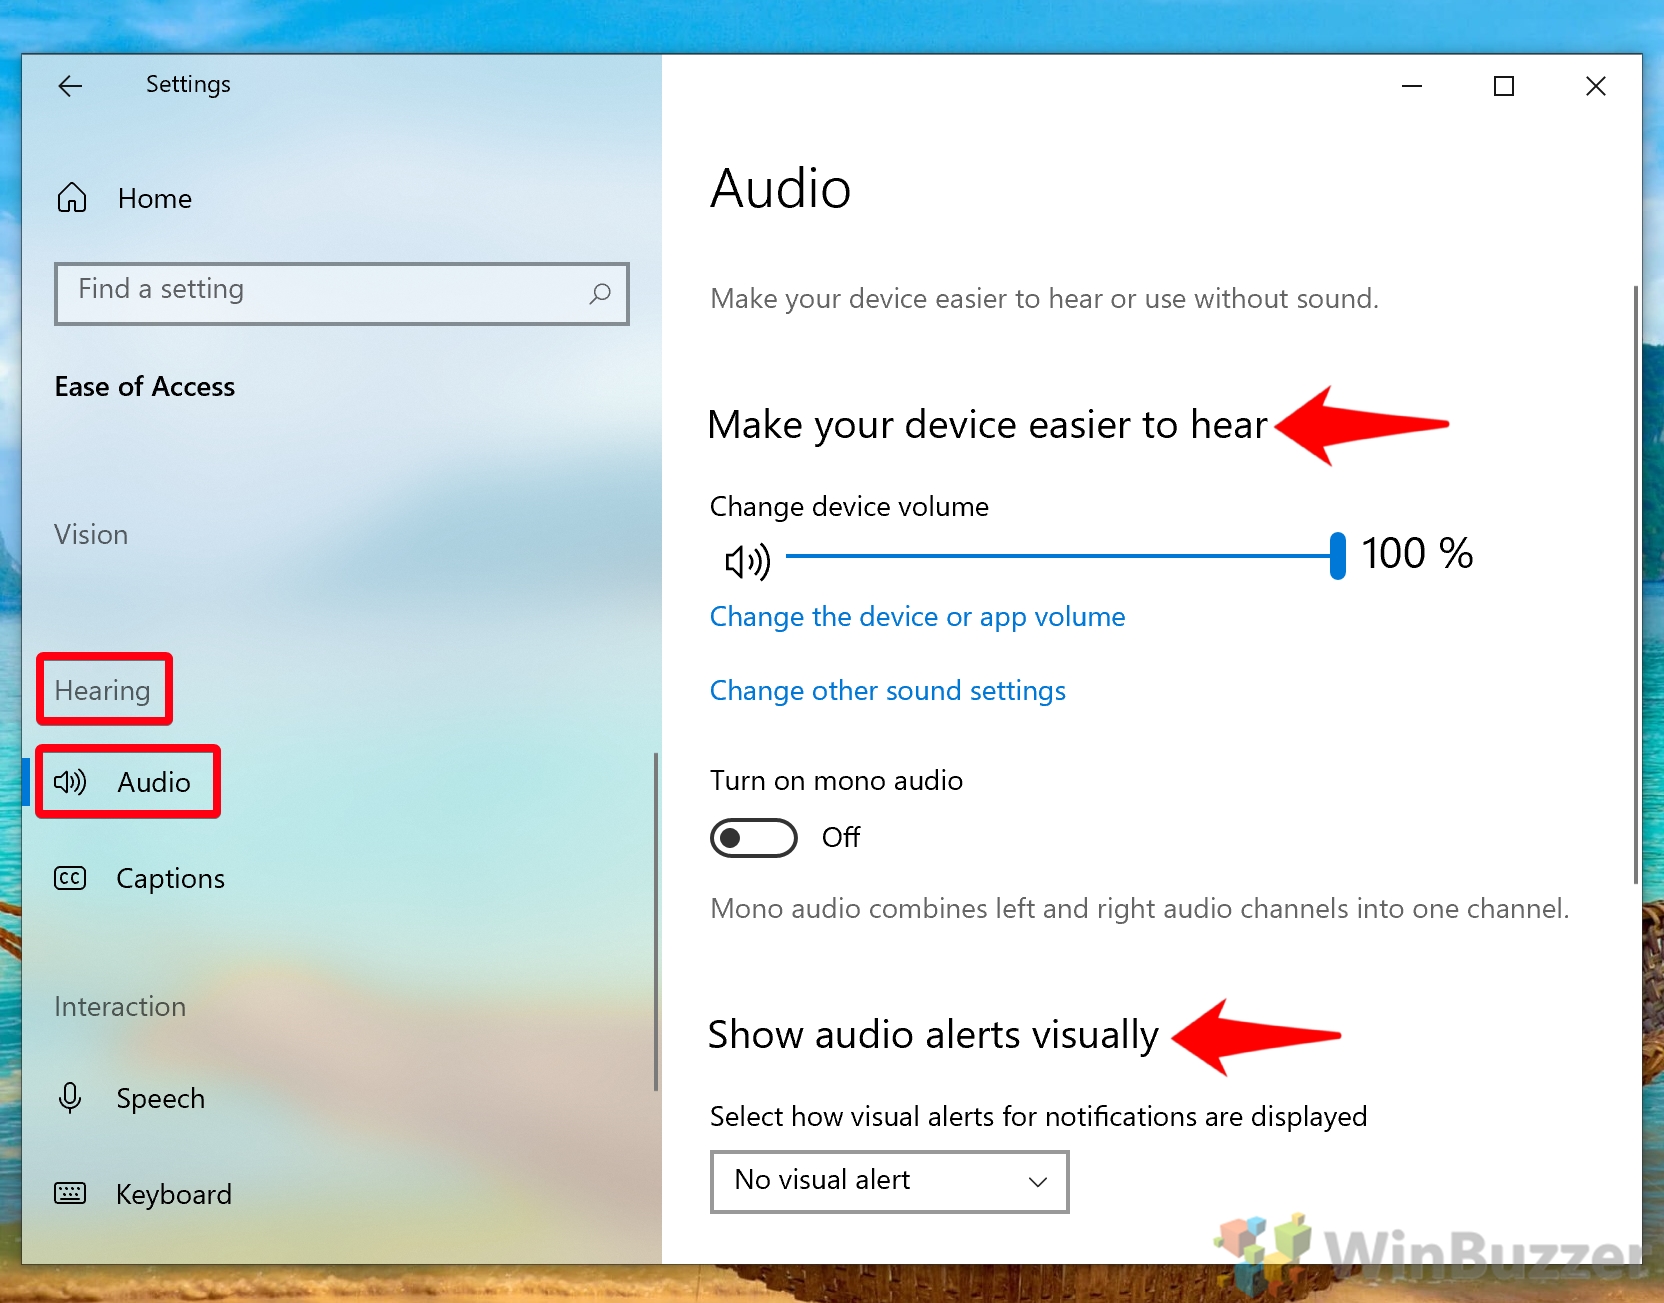
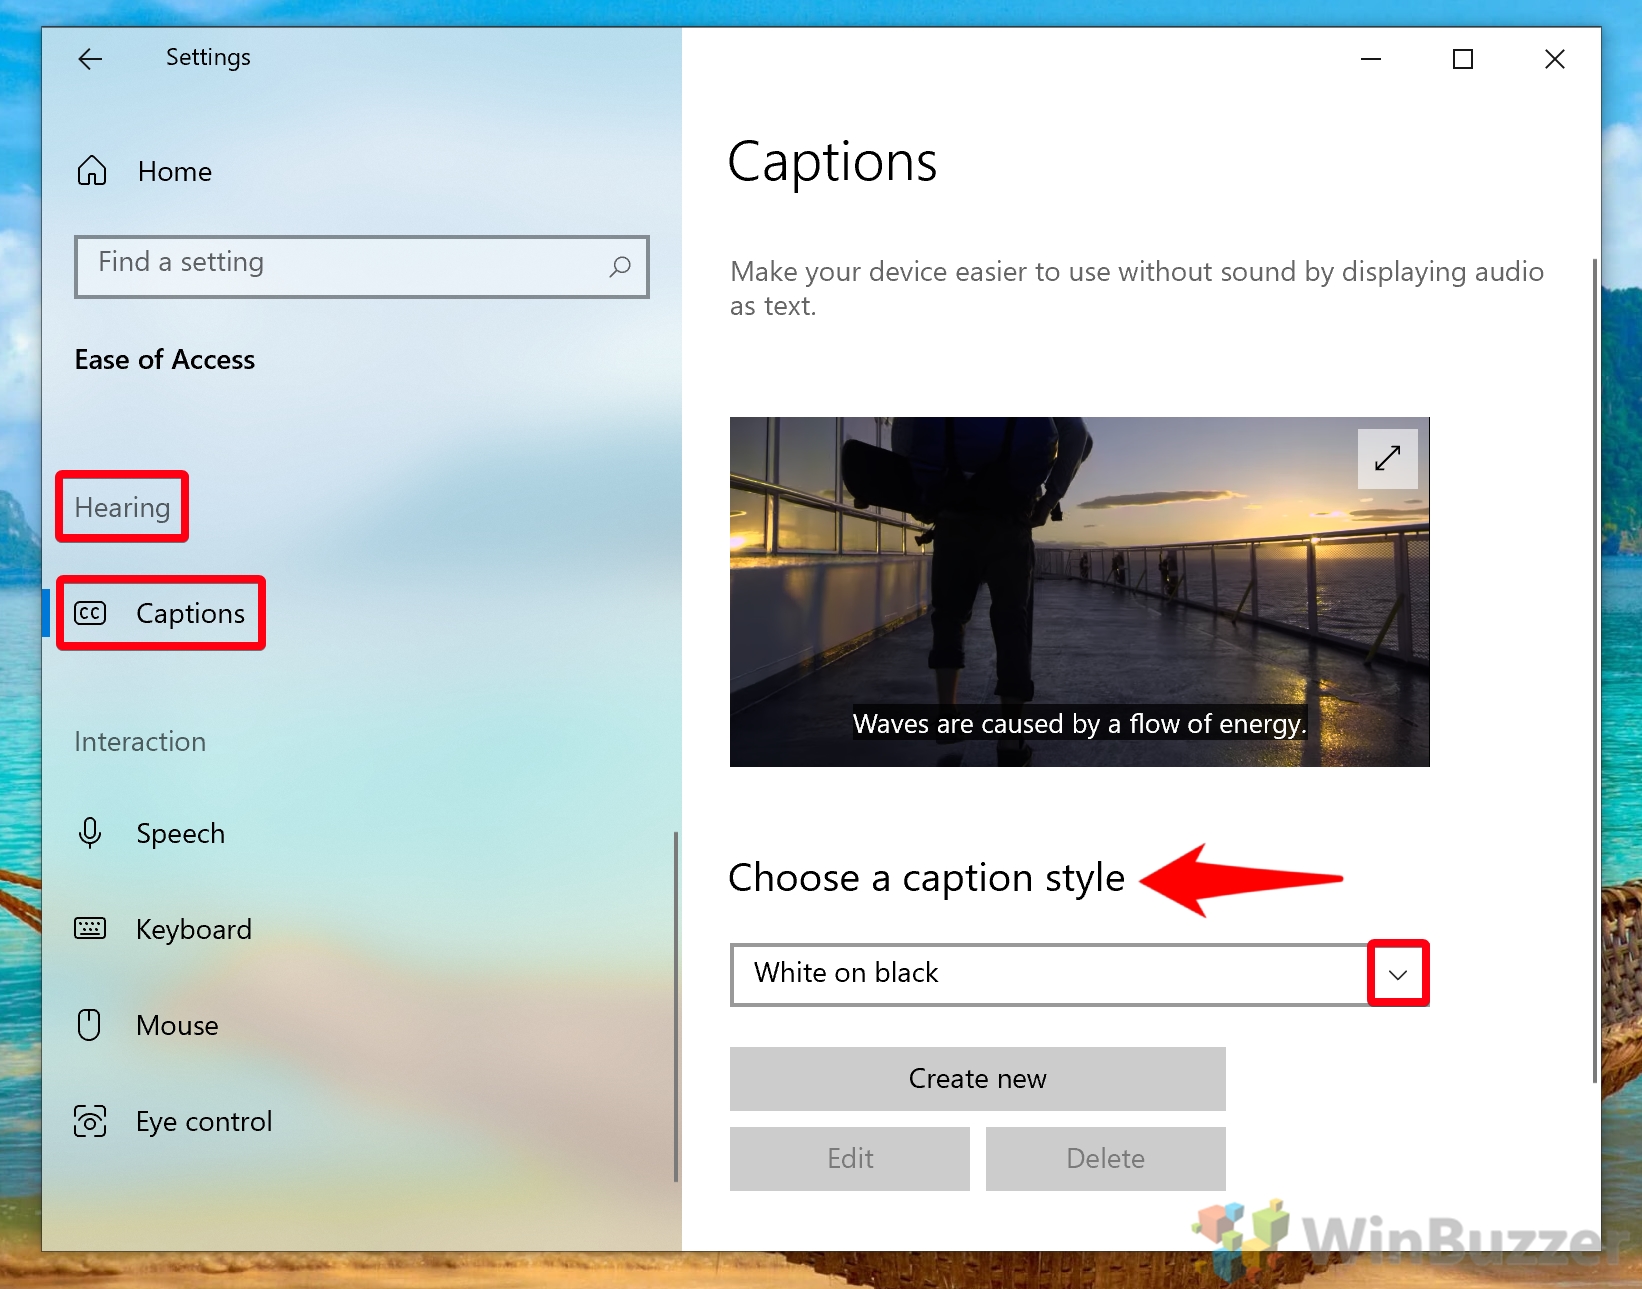
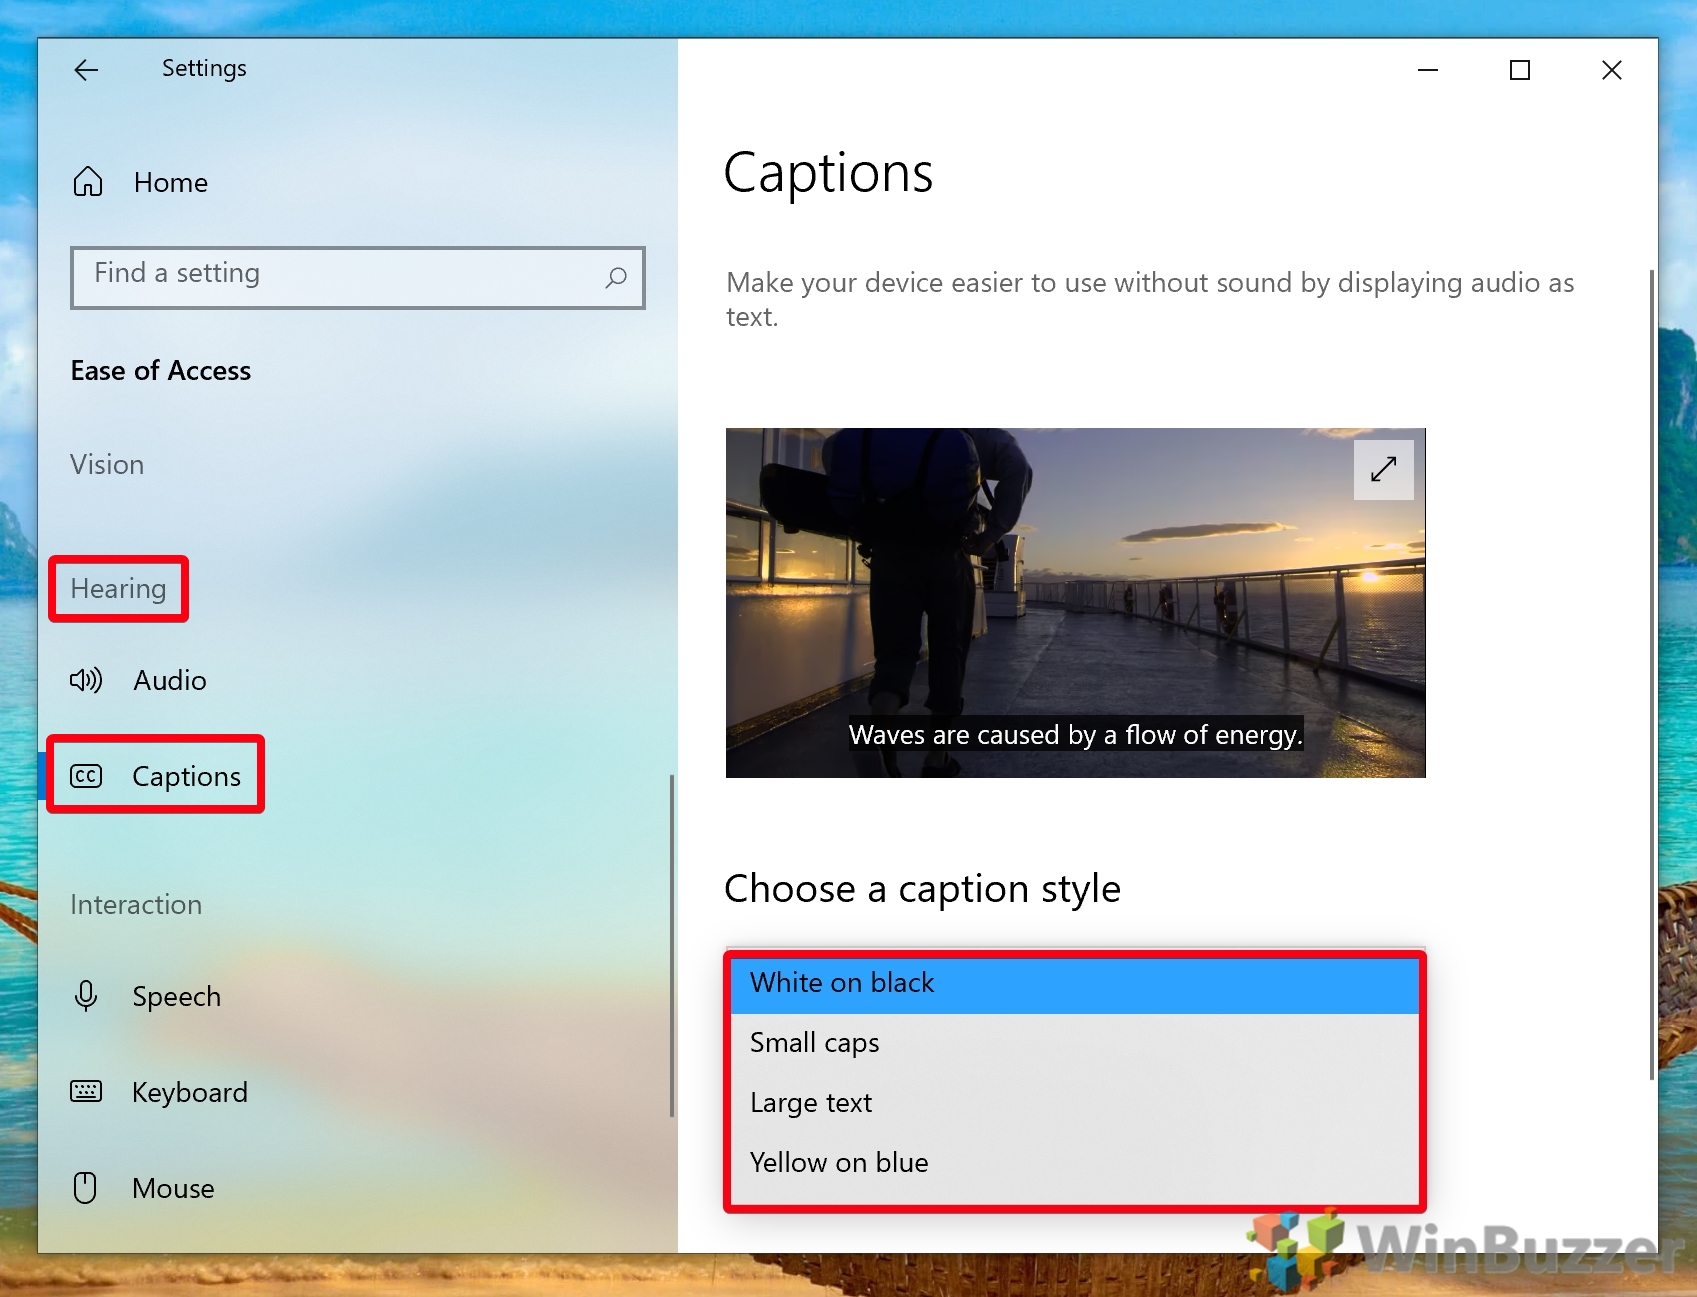
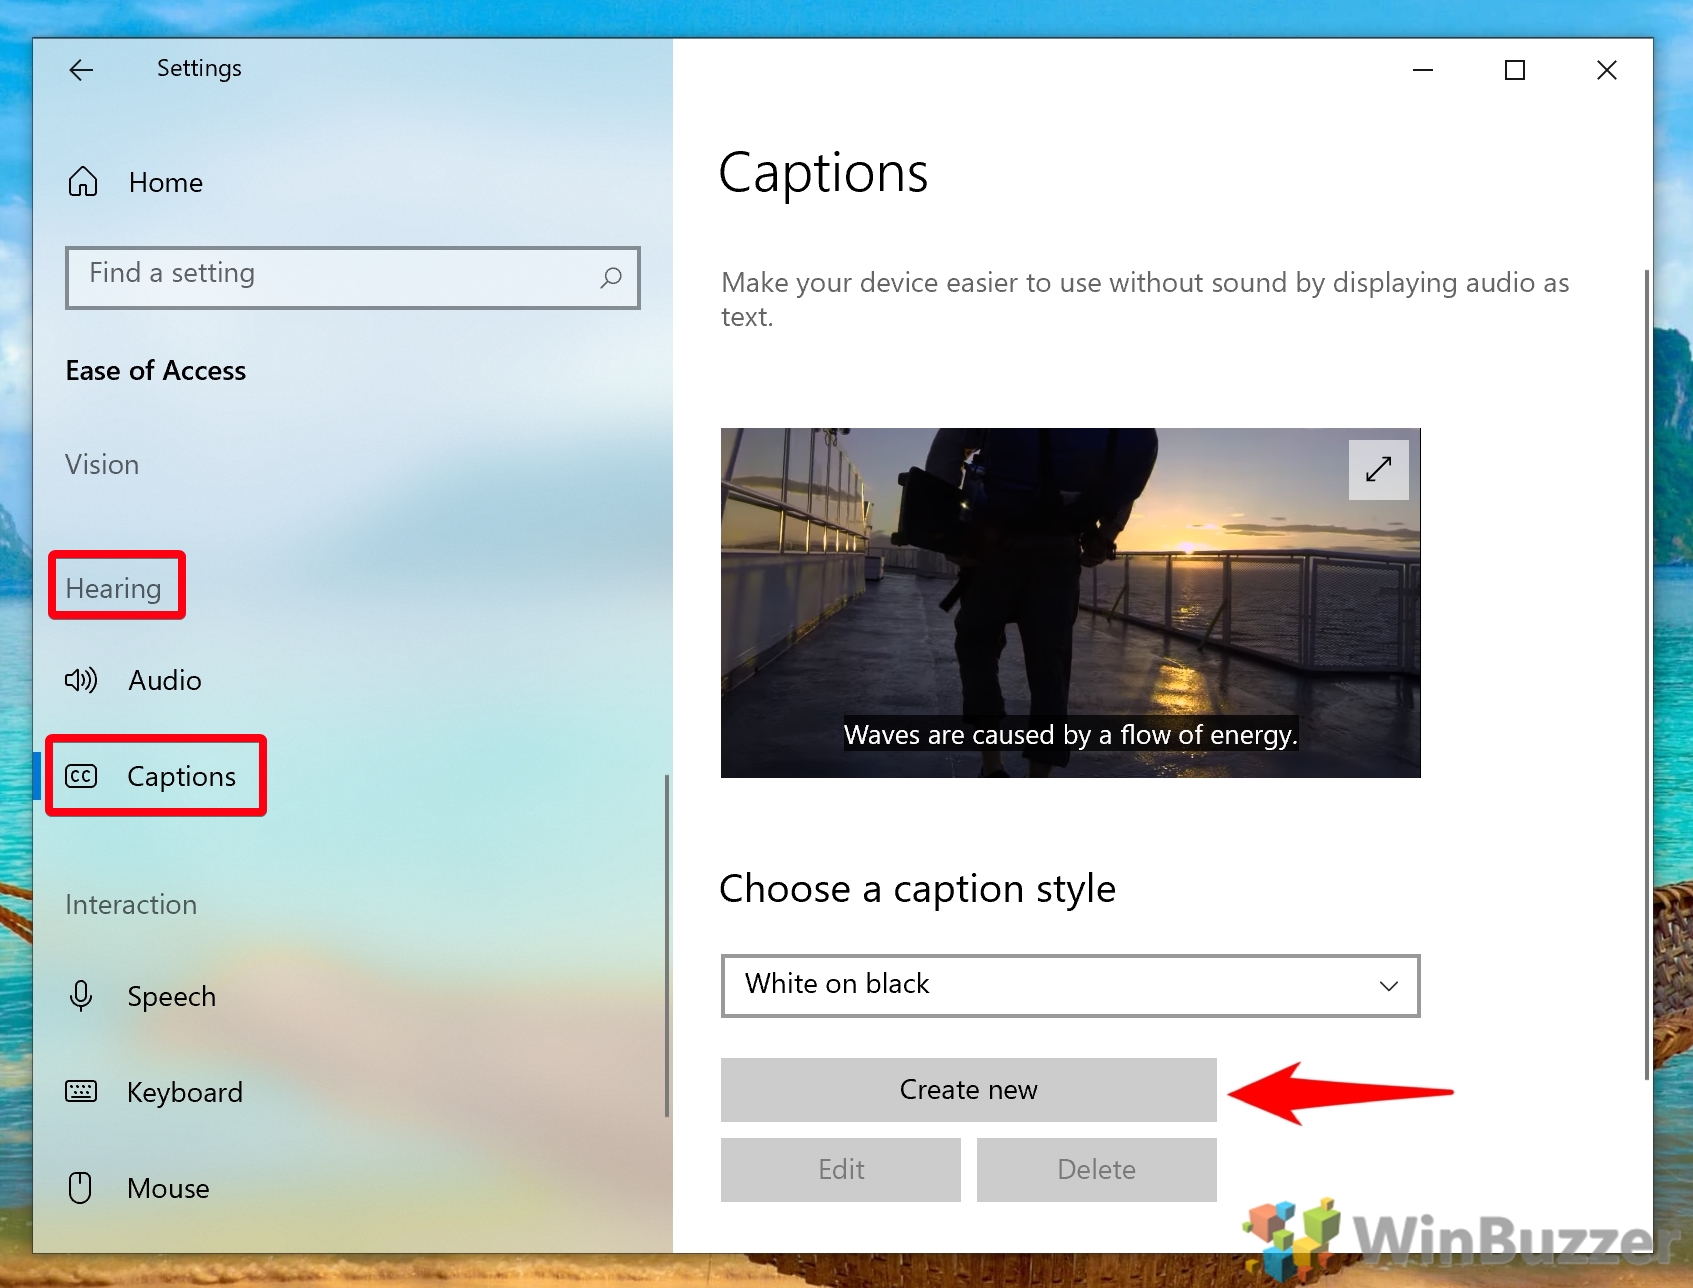
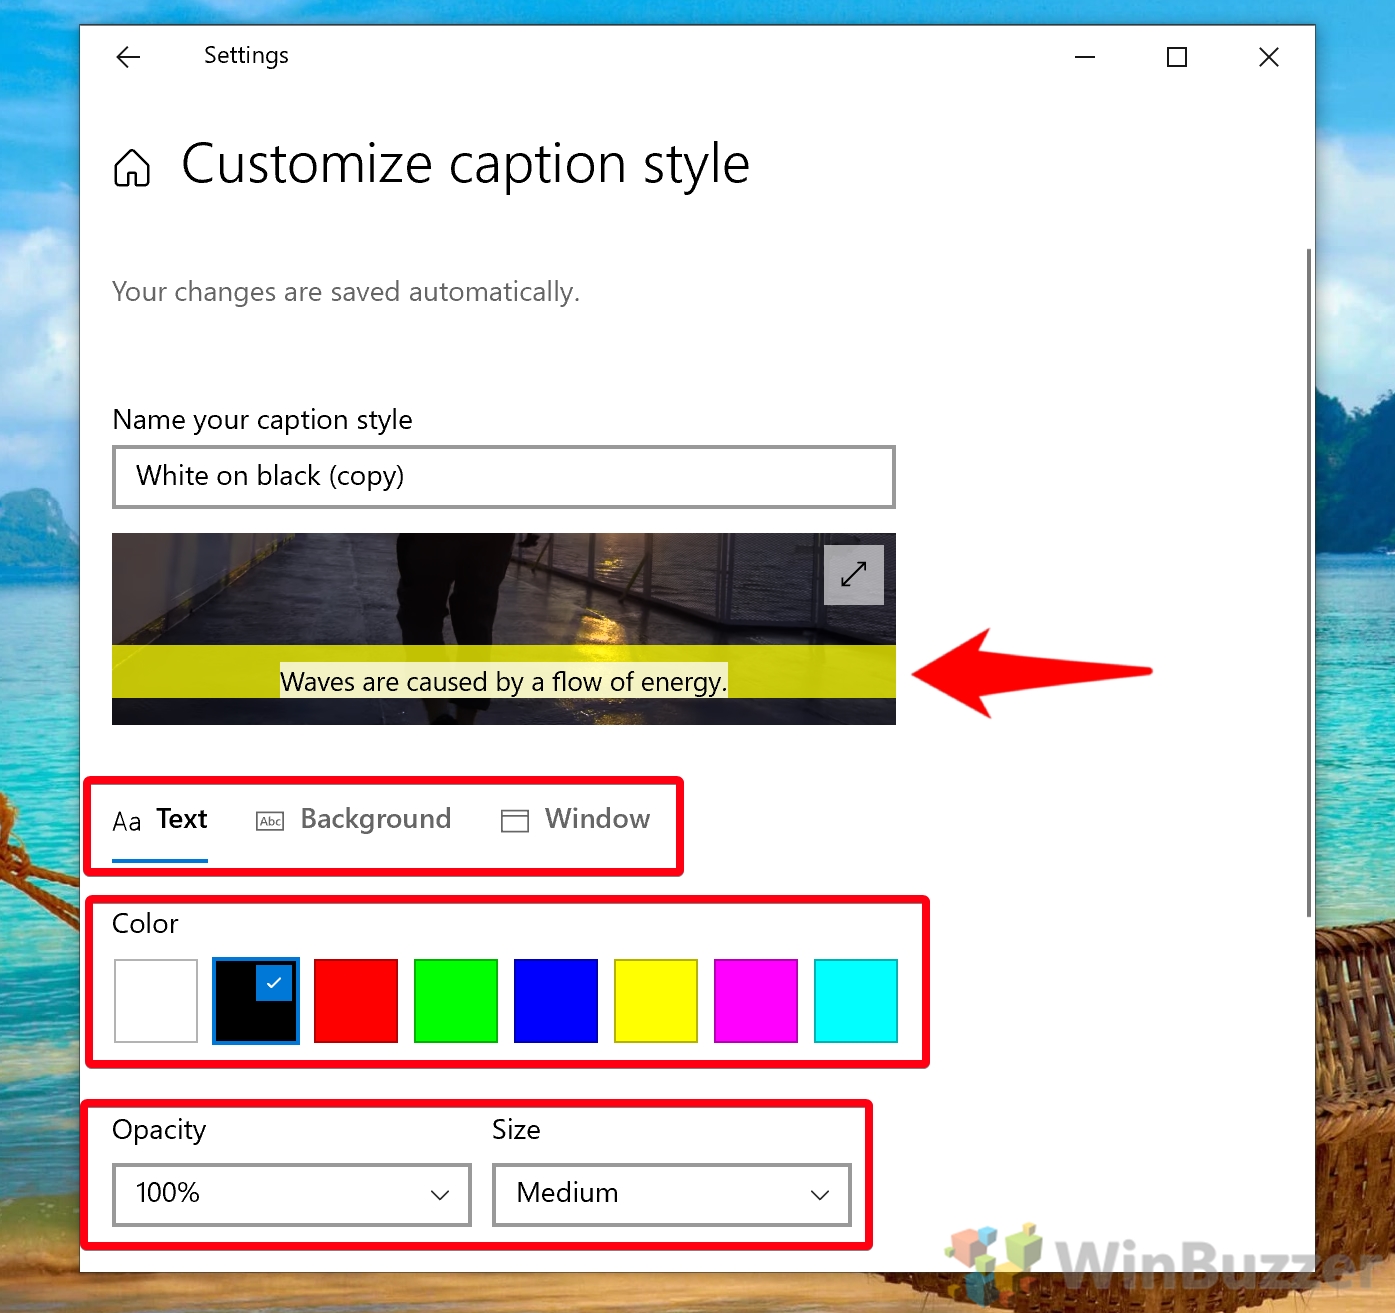
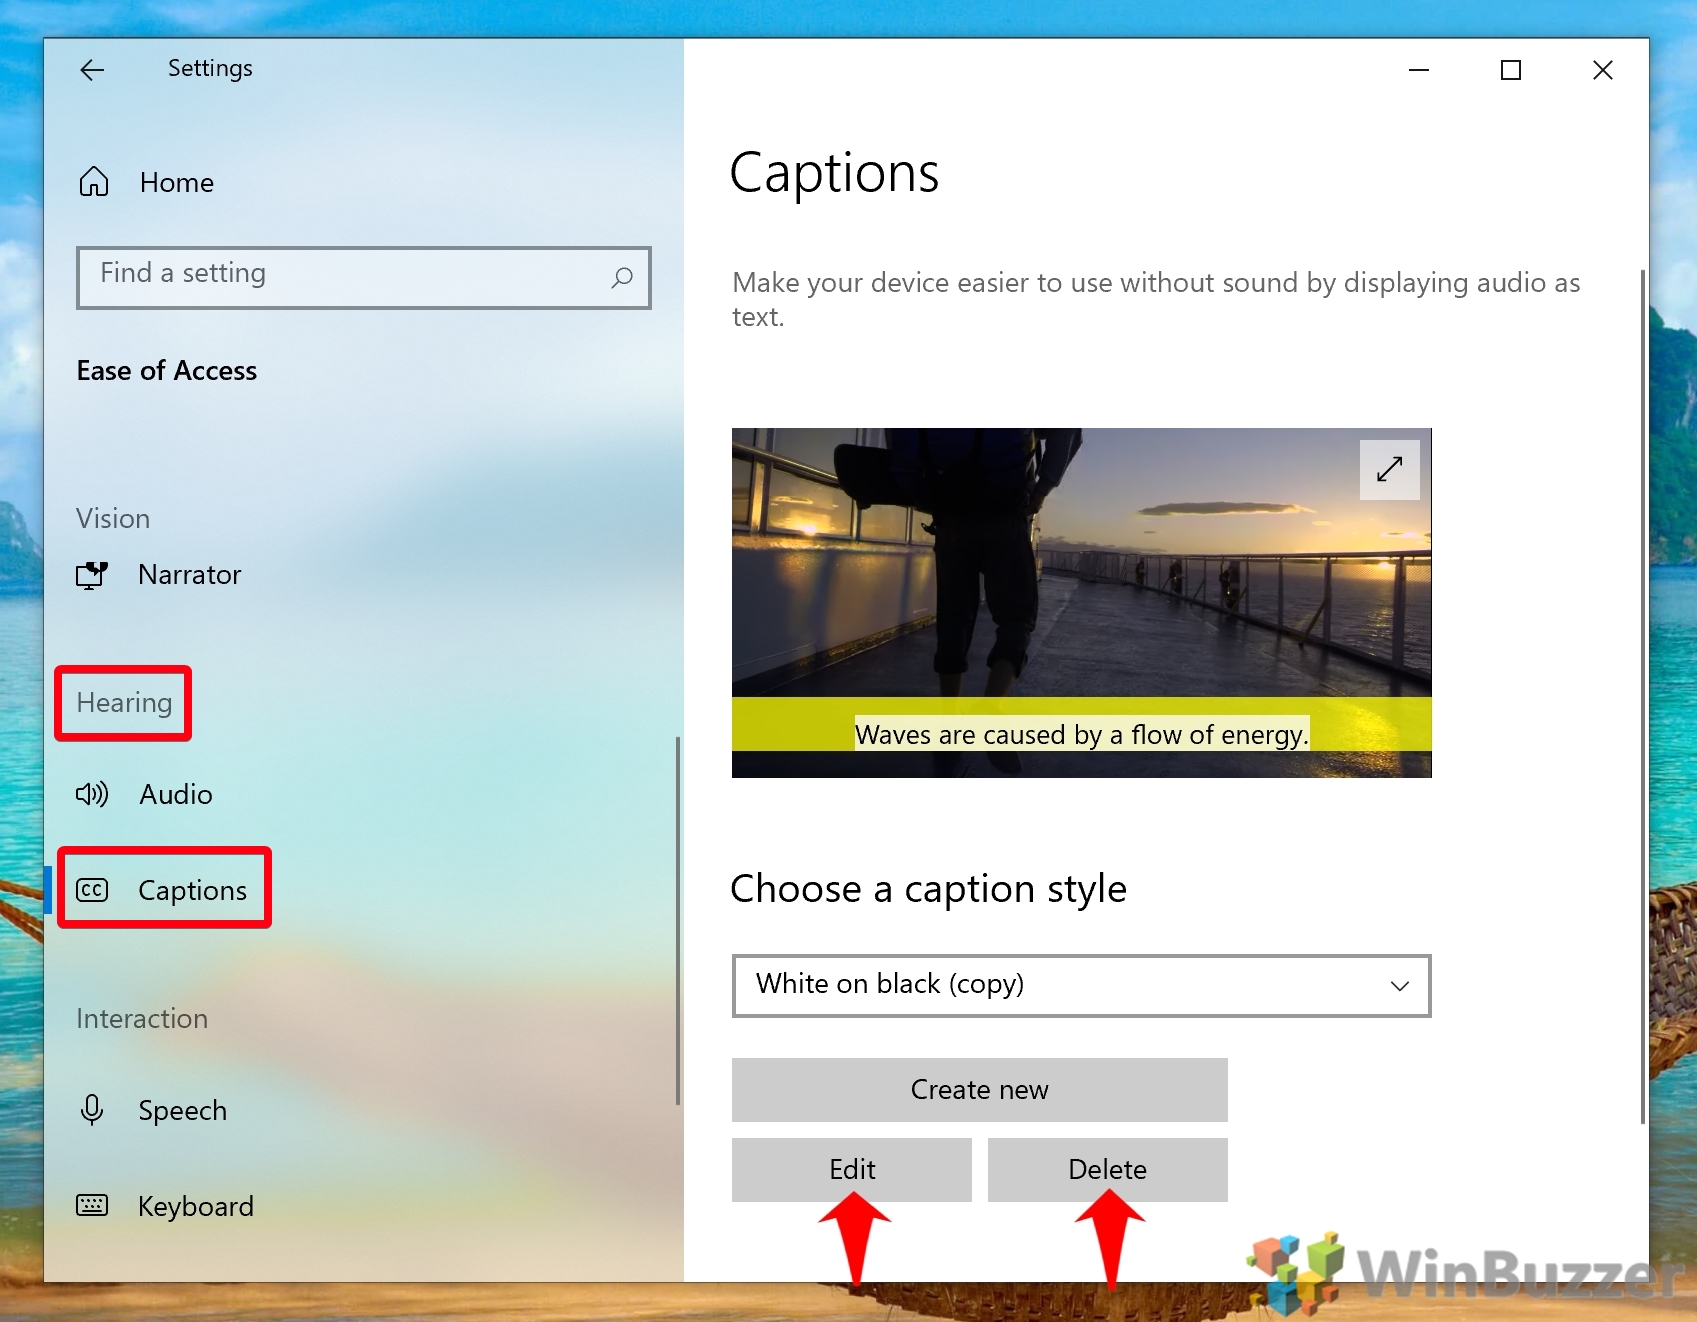
You’ll find these settings under the “Hearing” section of your Ease of Access sidebar. Another very useful feature is the ability to “Show audio alerts visually”. When you get a notification, you can choose whether to flash the active window’s title bar, flash the entire active window, or flash the whole screen.
You can start using Windows 10 dictation commands at any point by pressing “Windows + H”. Voice dictation in Windows 10 requires online speech recognition to be turned on in privacy settings, as well as “Turn on Speech recognition” under the “Dictate text and only your device using only your voice” heading.
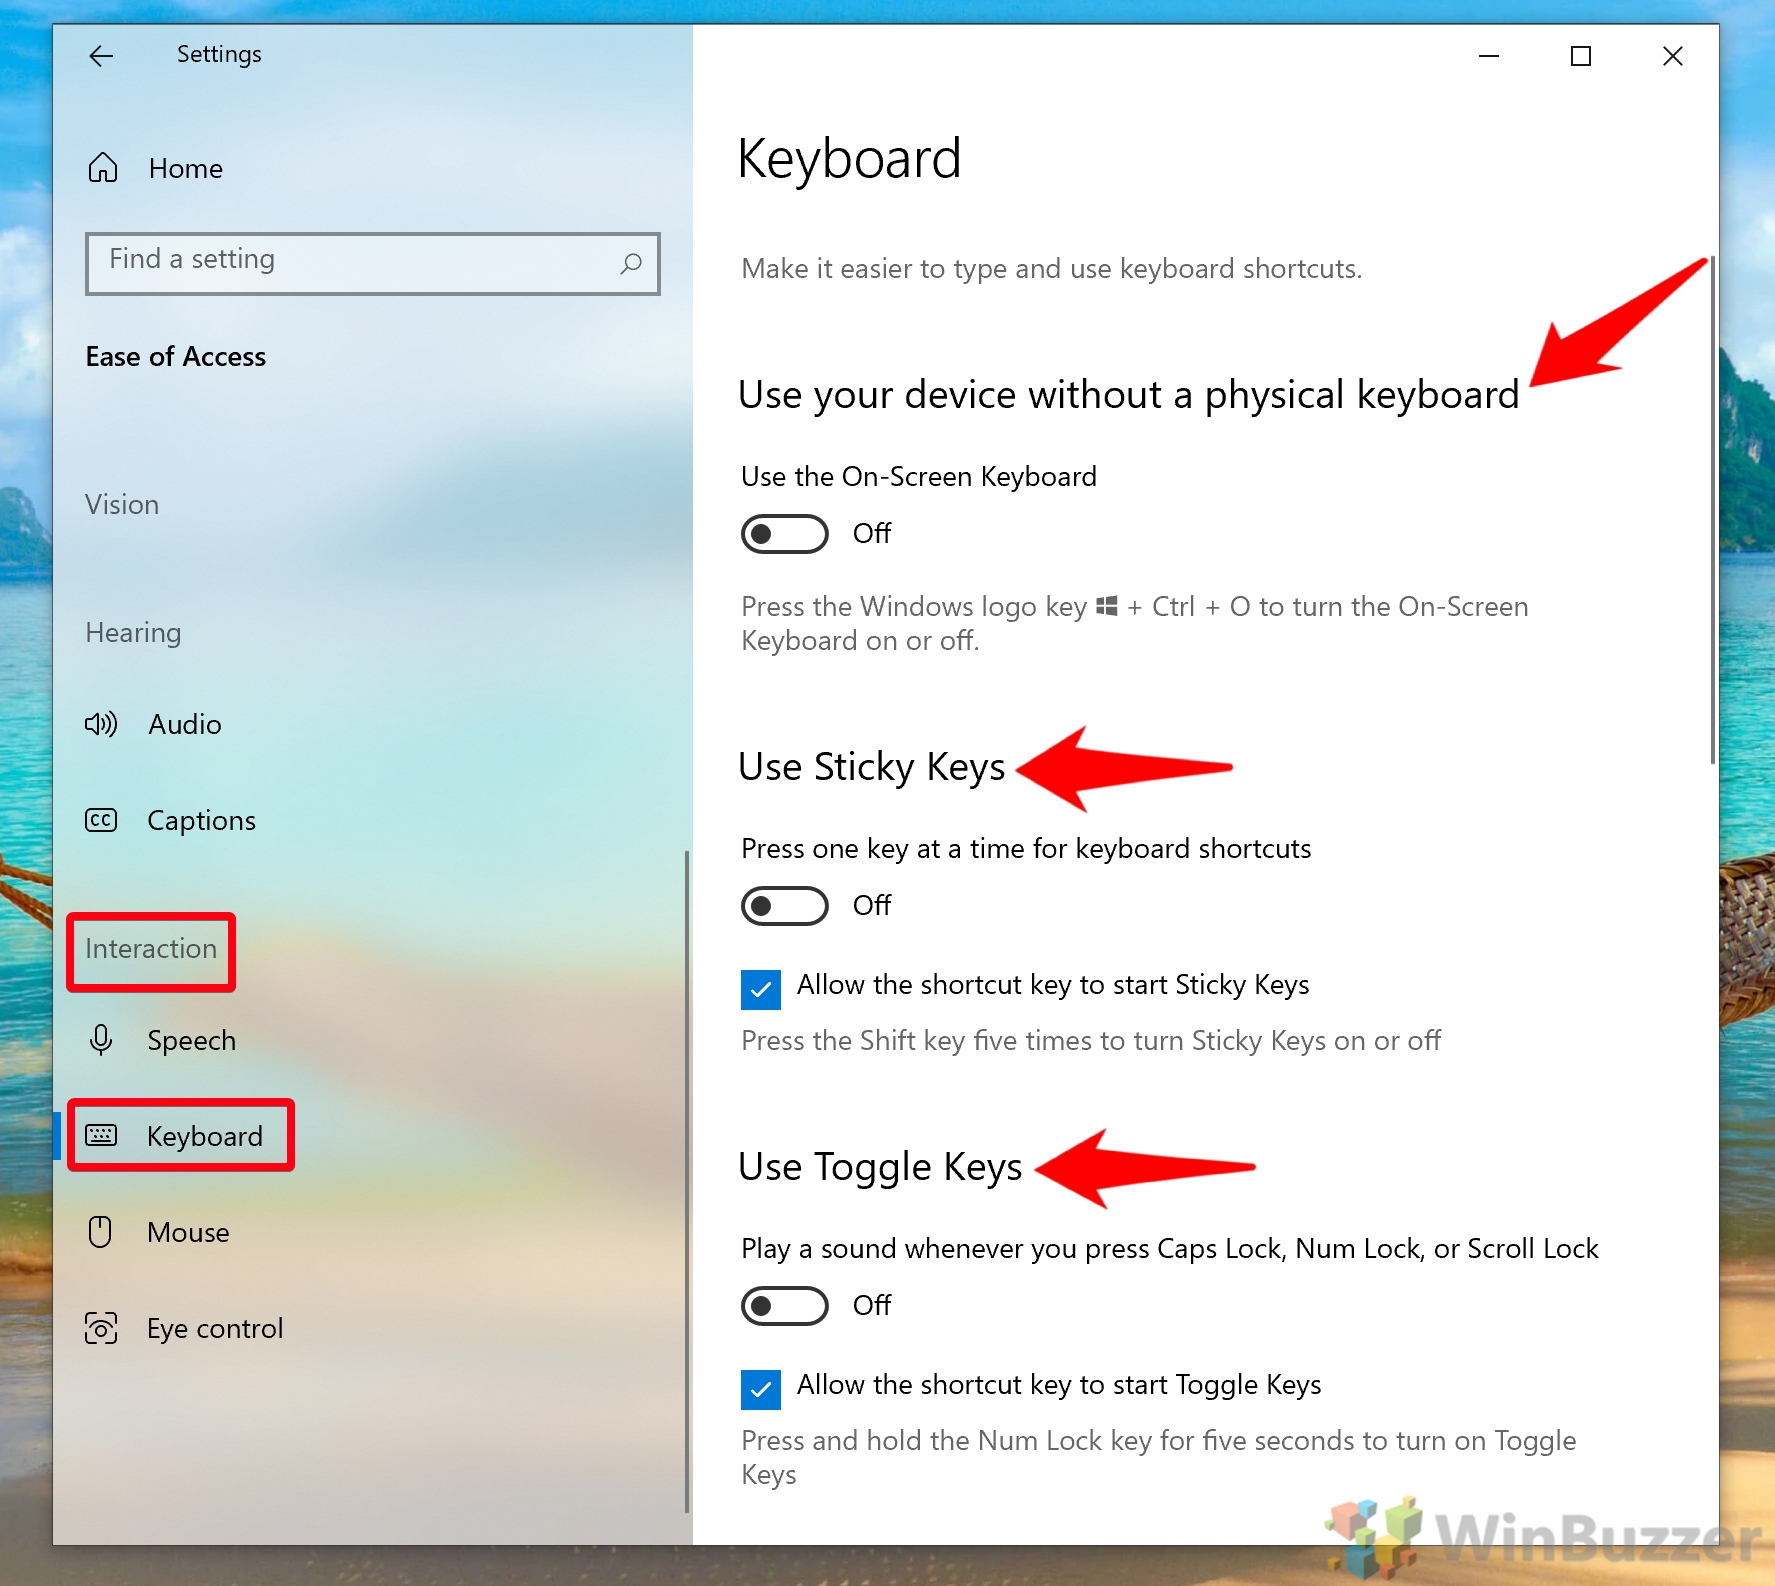
While you’re there, you may want to decide whether to turn off Sticky Keys or leave them on. If you’re unsure what that means, you can check out the linked guide above for more info. Toggle keys, meanwhile, play a sound whenever you press Caps Lock, Num Lock, or Scroll Lock. This is useful if, like me, you can a habit of missing the shift key.
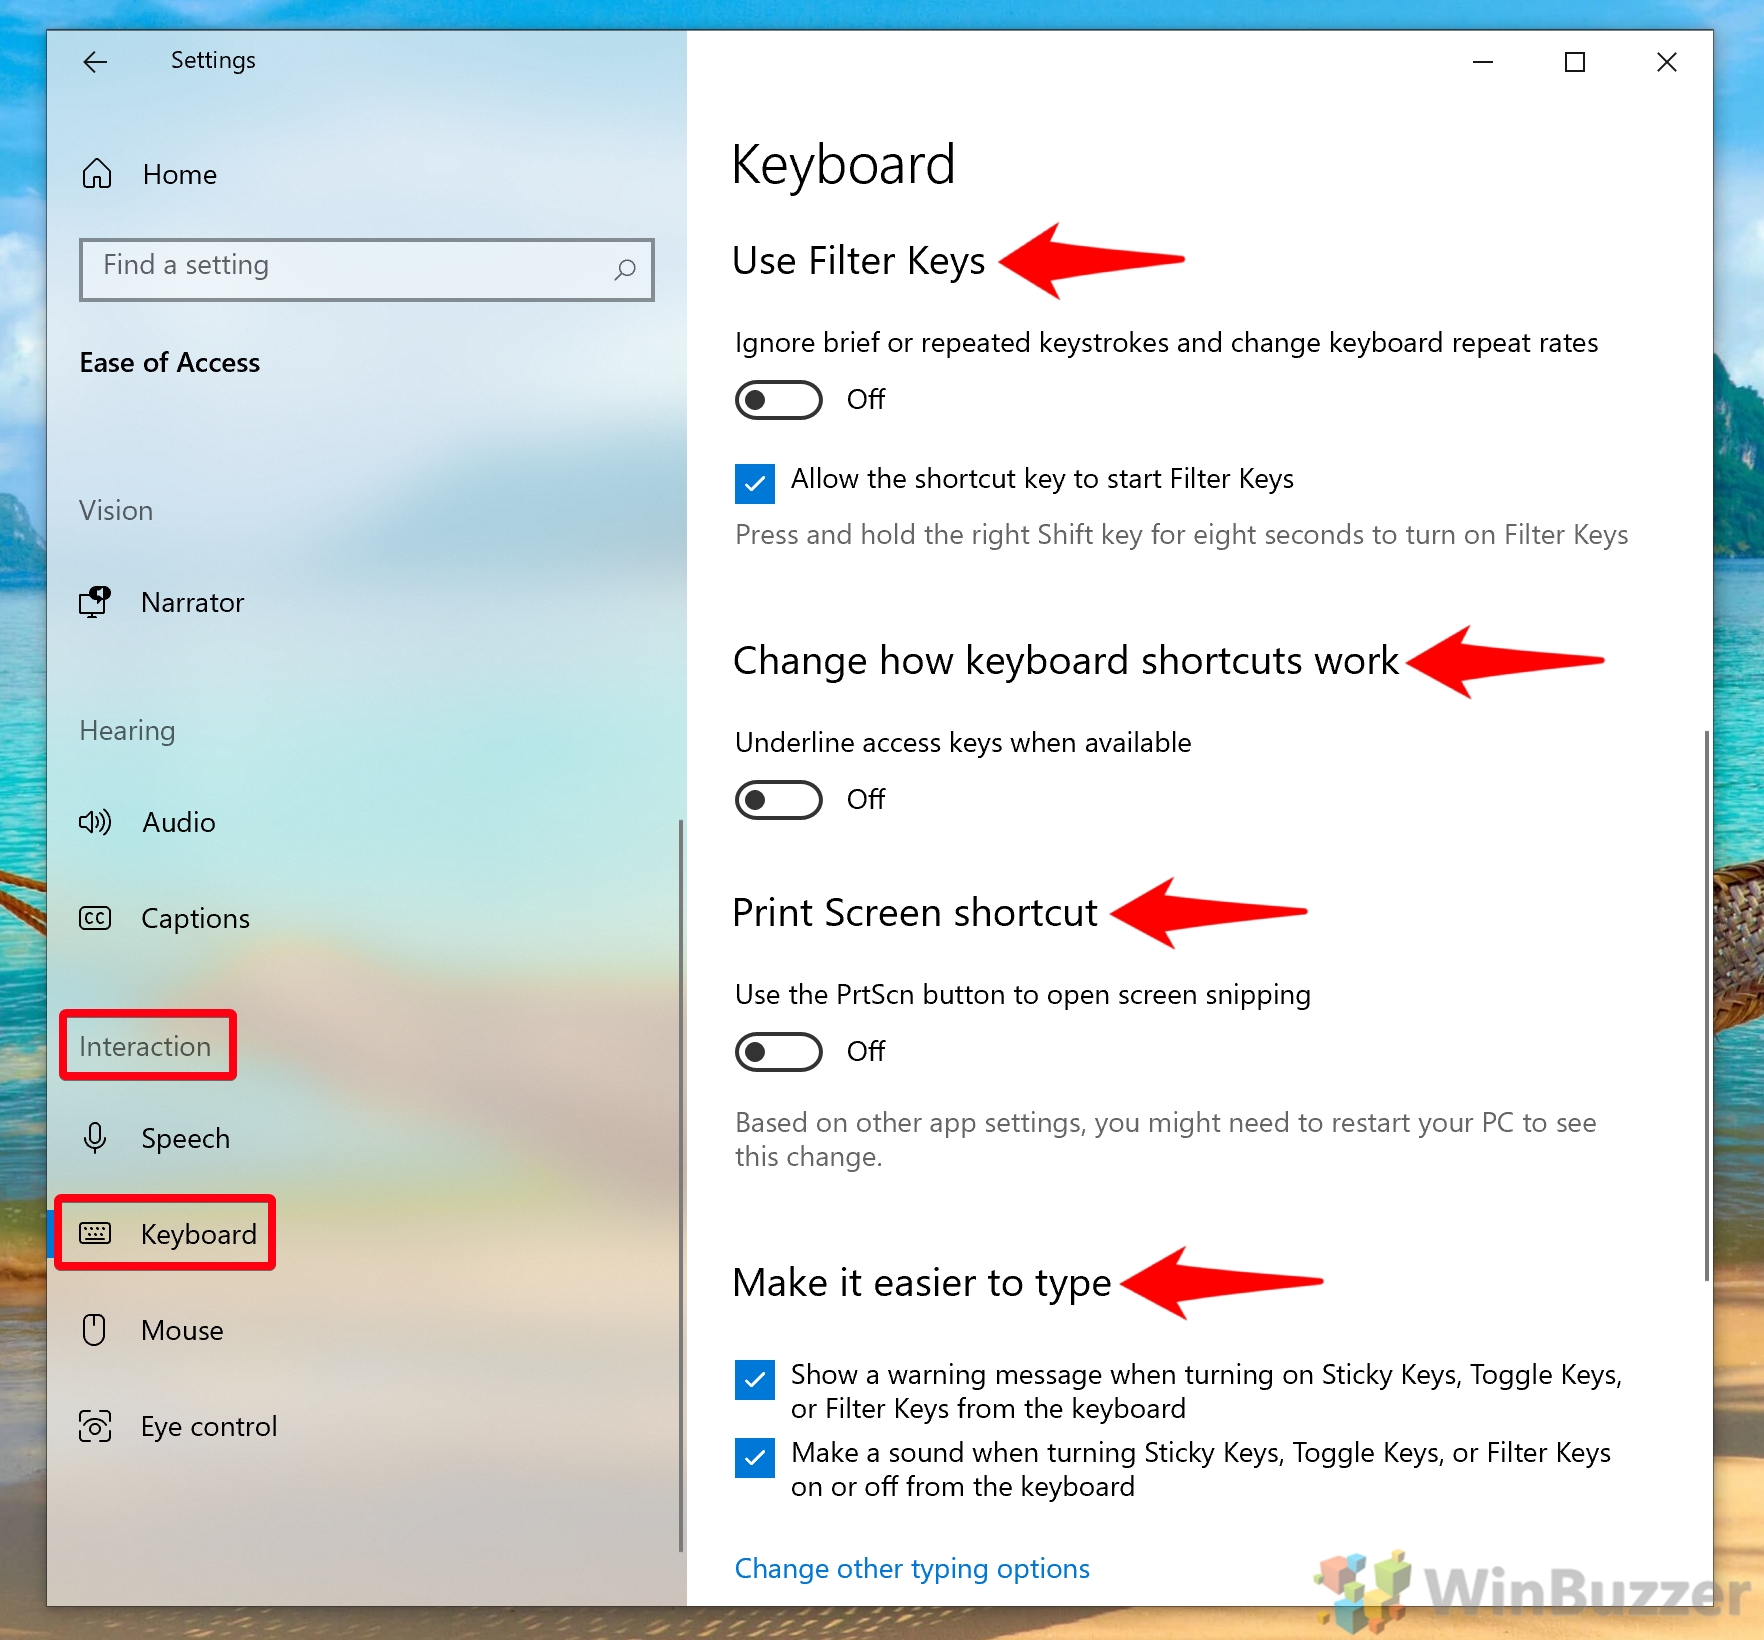
Filter keys cause your keyboard to ignore repeated keystrokes so you can hold keys to type a letter. If your keyboard won’t type as a result of this, you can follow our dedicated guide. The “Change how keyboard shortcuts work” heading contains a toggle for underlining access keys. This highlights shortcut keys in menus. For example, if a program says “Save” and the shortcut for that is Ctrl +S, it will read Save. The toggle under the “Print screen shortcut” heading lets you set it so the print screen button opens the snipping tool rather than taking an image of the entire desktop. Make sure you don’t miss the tick boxes at the bottom of the keyboard page, too. They let you show a warning message and sound when you turn on Sticky Keys, Toggle Keys, or Filter Keys.
4 and 6 will move your cursor left and right, 2 and 8 up and down, and 9 will click. You’ll be presented with additional options to change the pointer speed, acceleration, and other options on toggle.